BlogGuide
How to Make a One Pager in Word, Step by Step
How to make a one pager in Word: margins, a table layout, the sections to fill in, and why Shrink One Page is a last resort, per Microsoft's help.

By MakeOnepagers Team
Updated · 7 min read
How to make a one pager in Word comes down to three decisions: the margins, a layout that keeps sections side by side, and what you cut when it runs over. The top results for this search on 12 October 2026 were about fitting any Word document on one page and about rotating a single sheet sideways. Neither shows how to lay out a one pager. So we read Microsoft's own Word help and built the steps from it, with the menu paths for Word for Microsoft 365, 2024, 2021, 2019 and 2016. Below: seven steps, a layout to copy, the sections to fill in, and the mistakes that push a one pager onto a second sheet.
One‑Pager examples
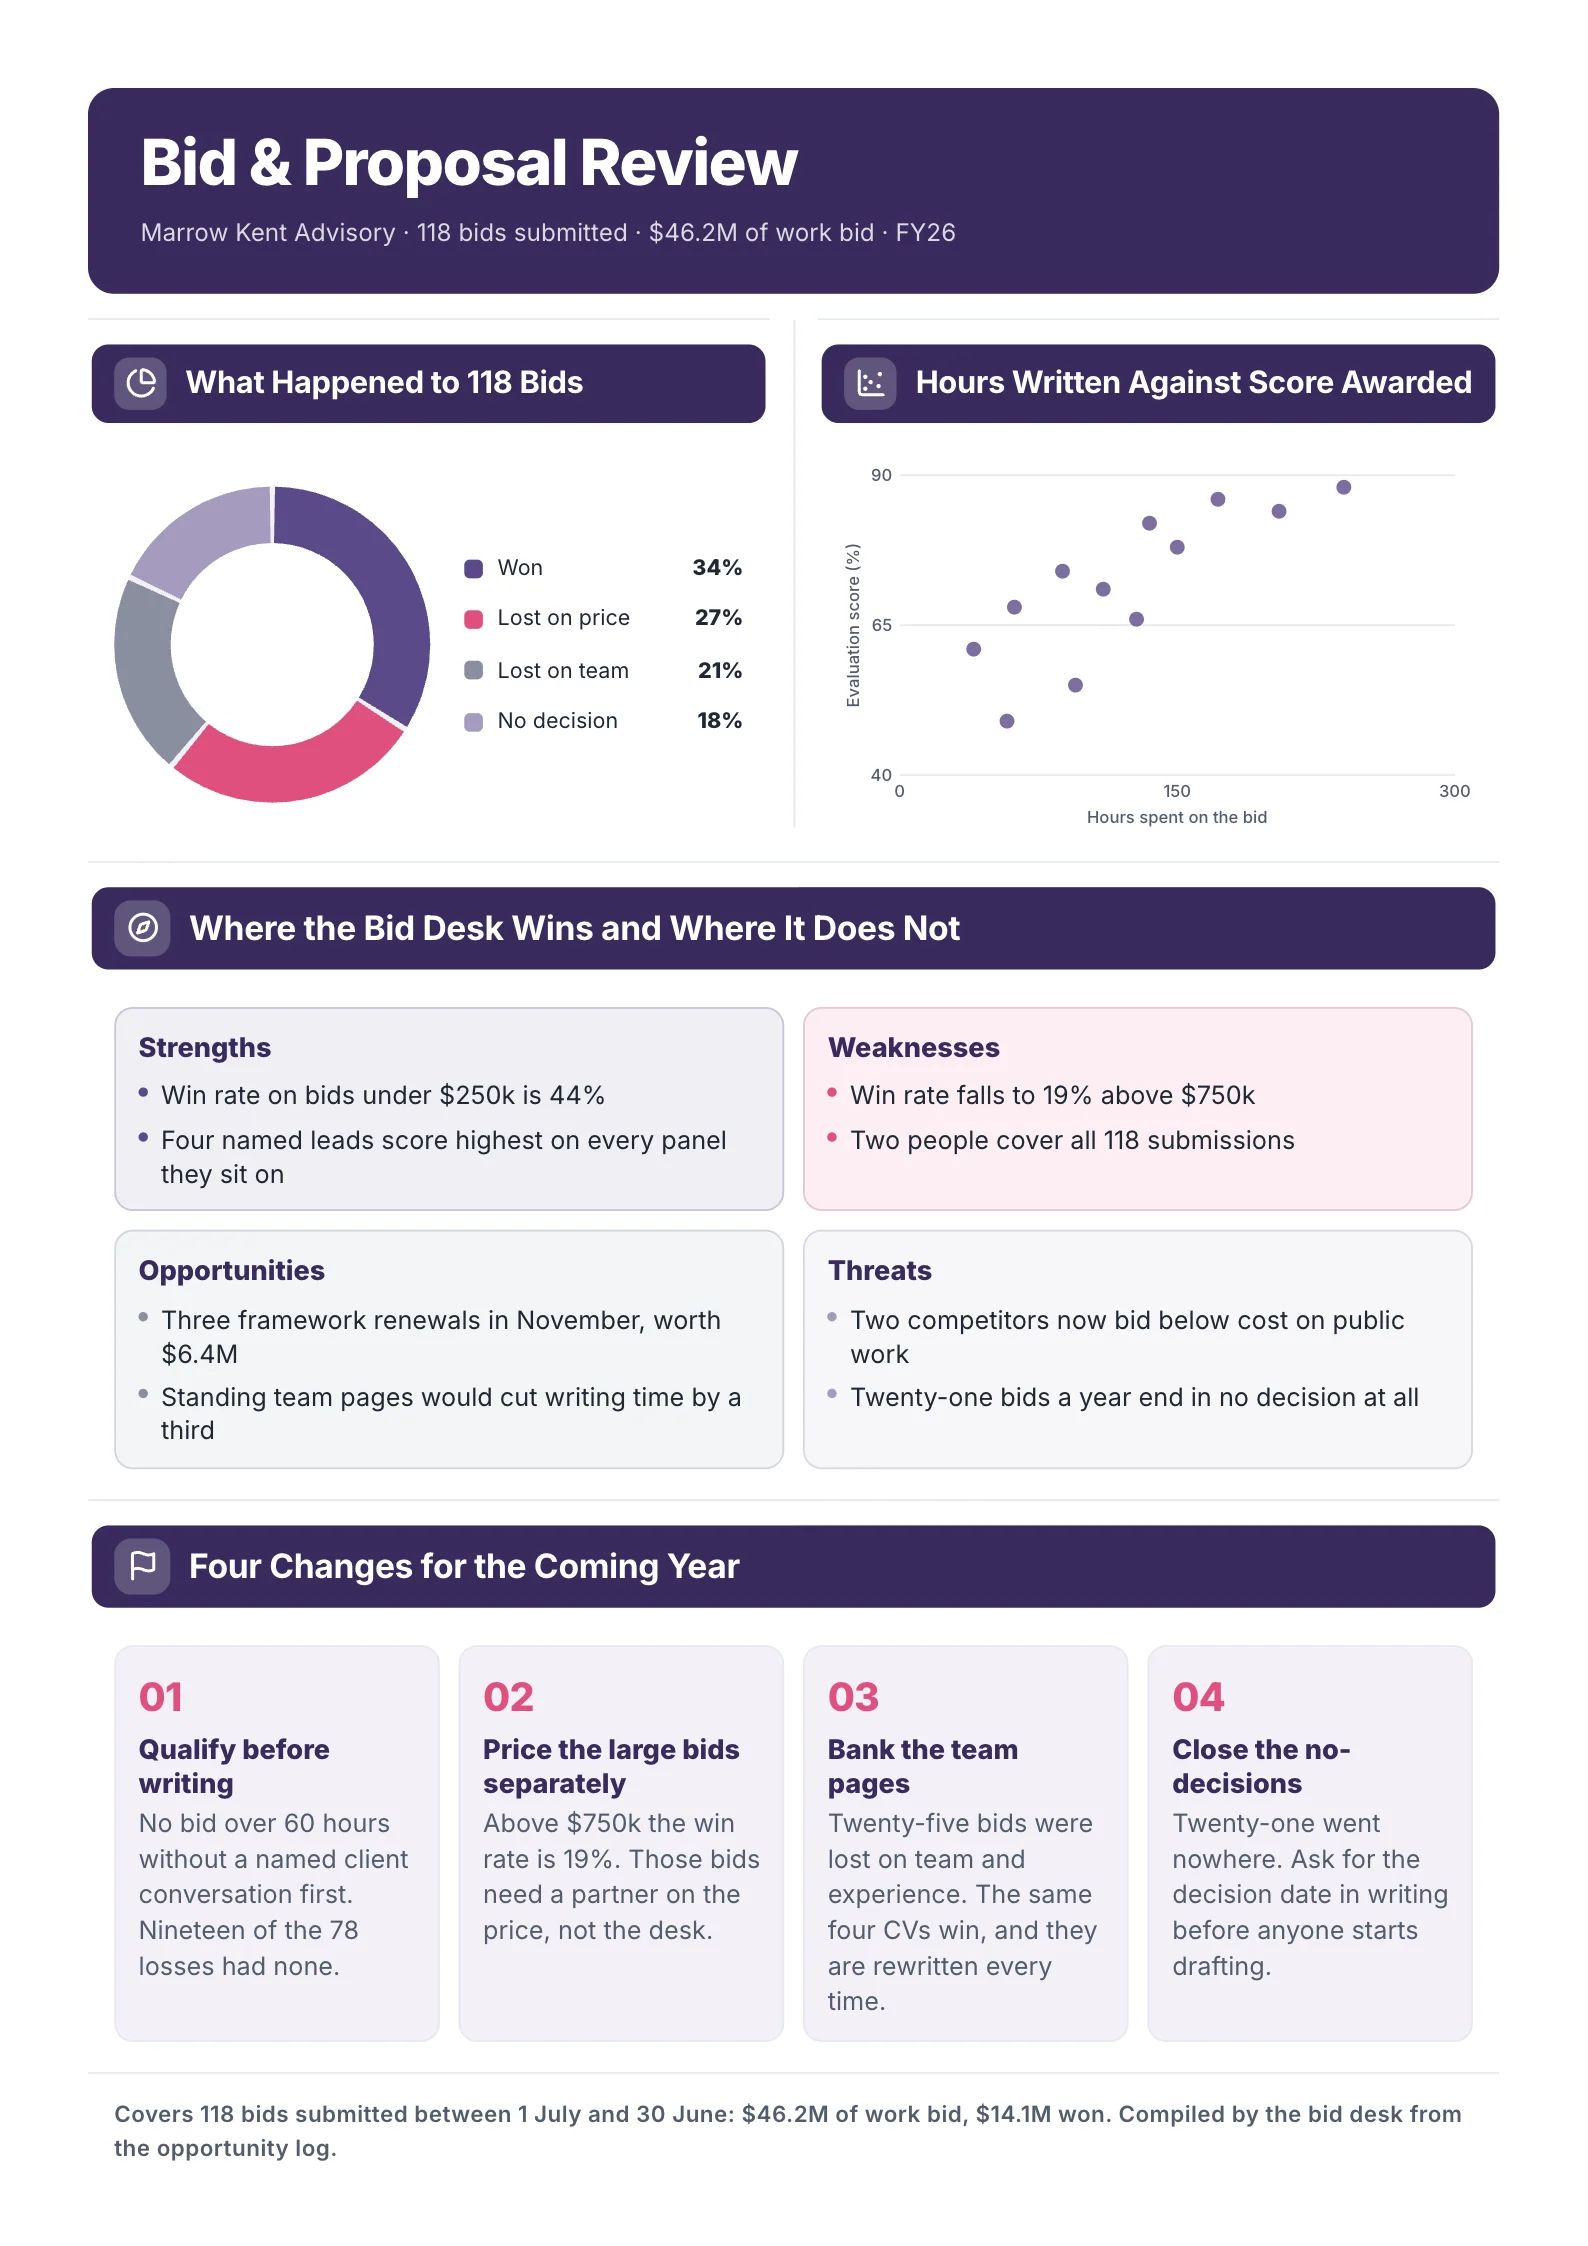
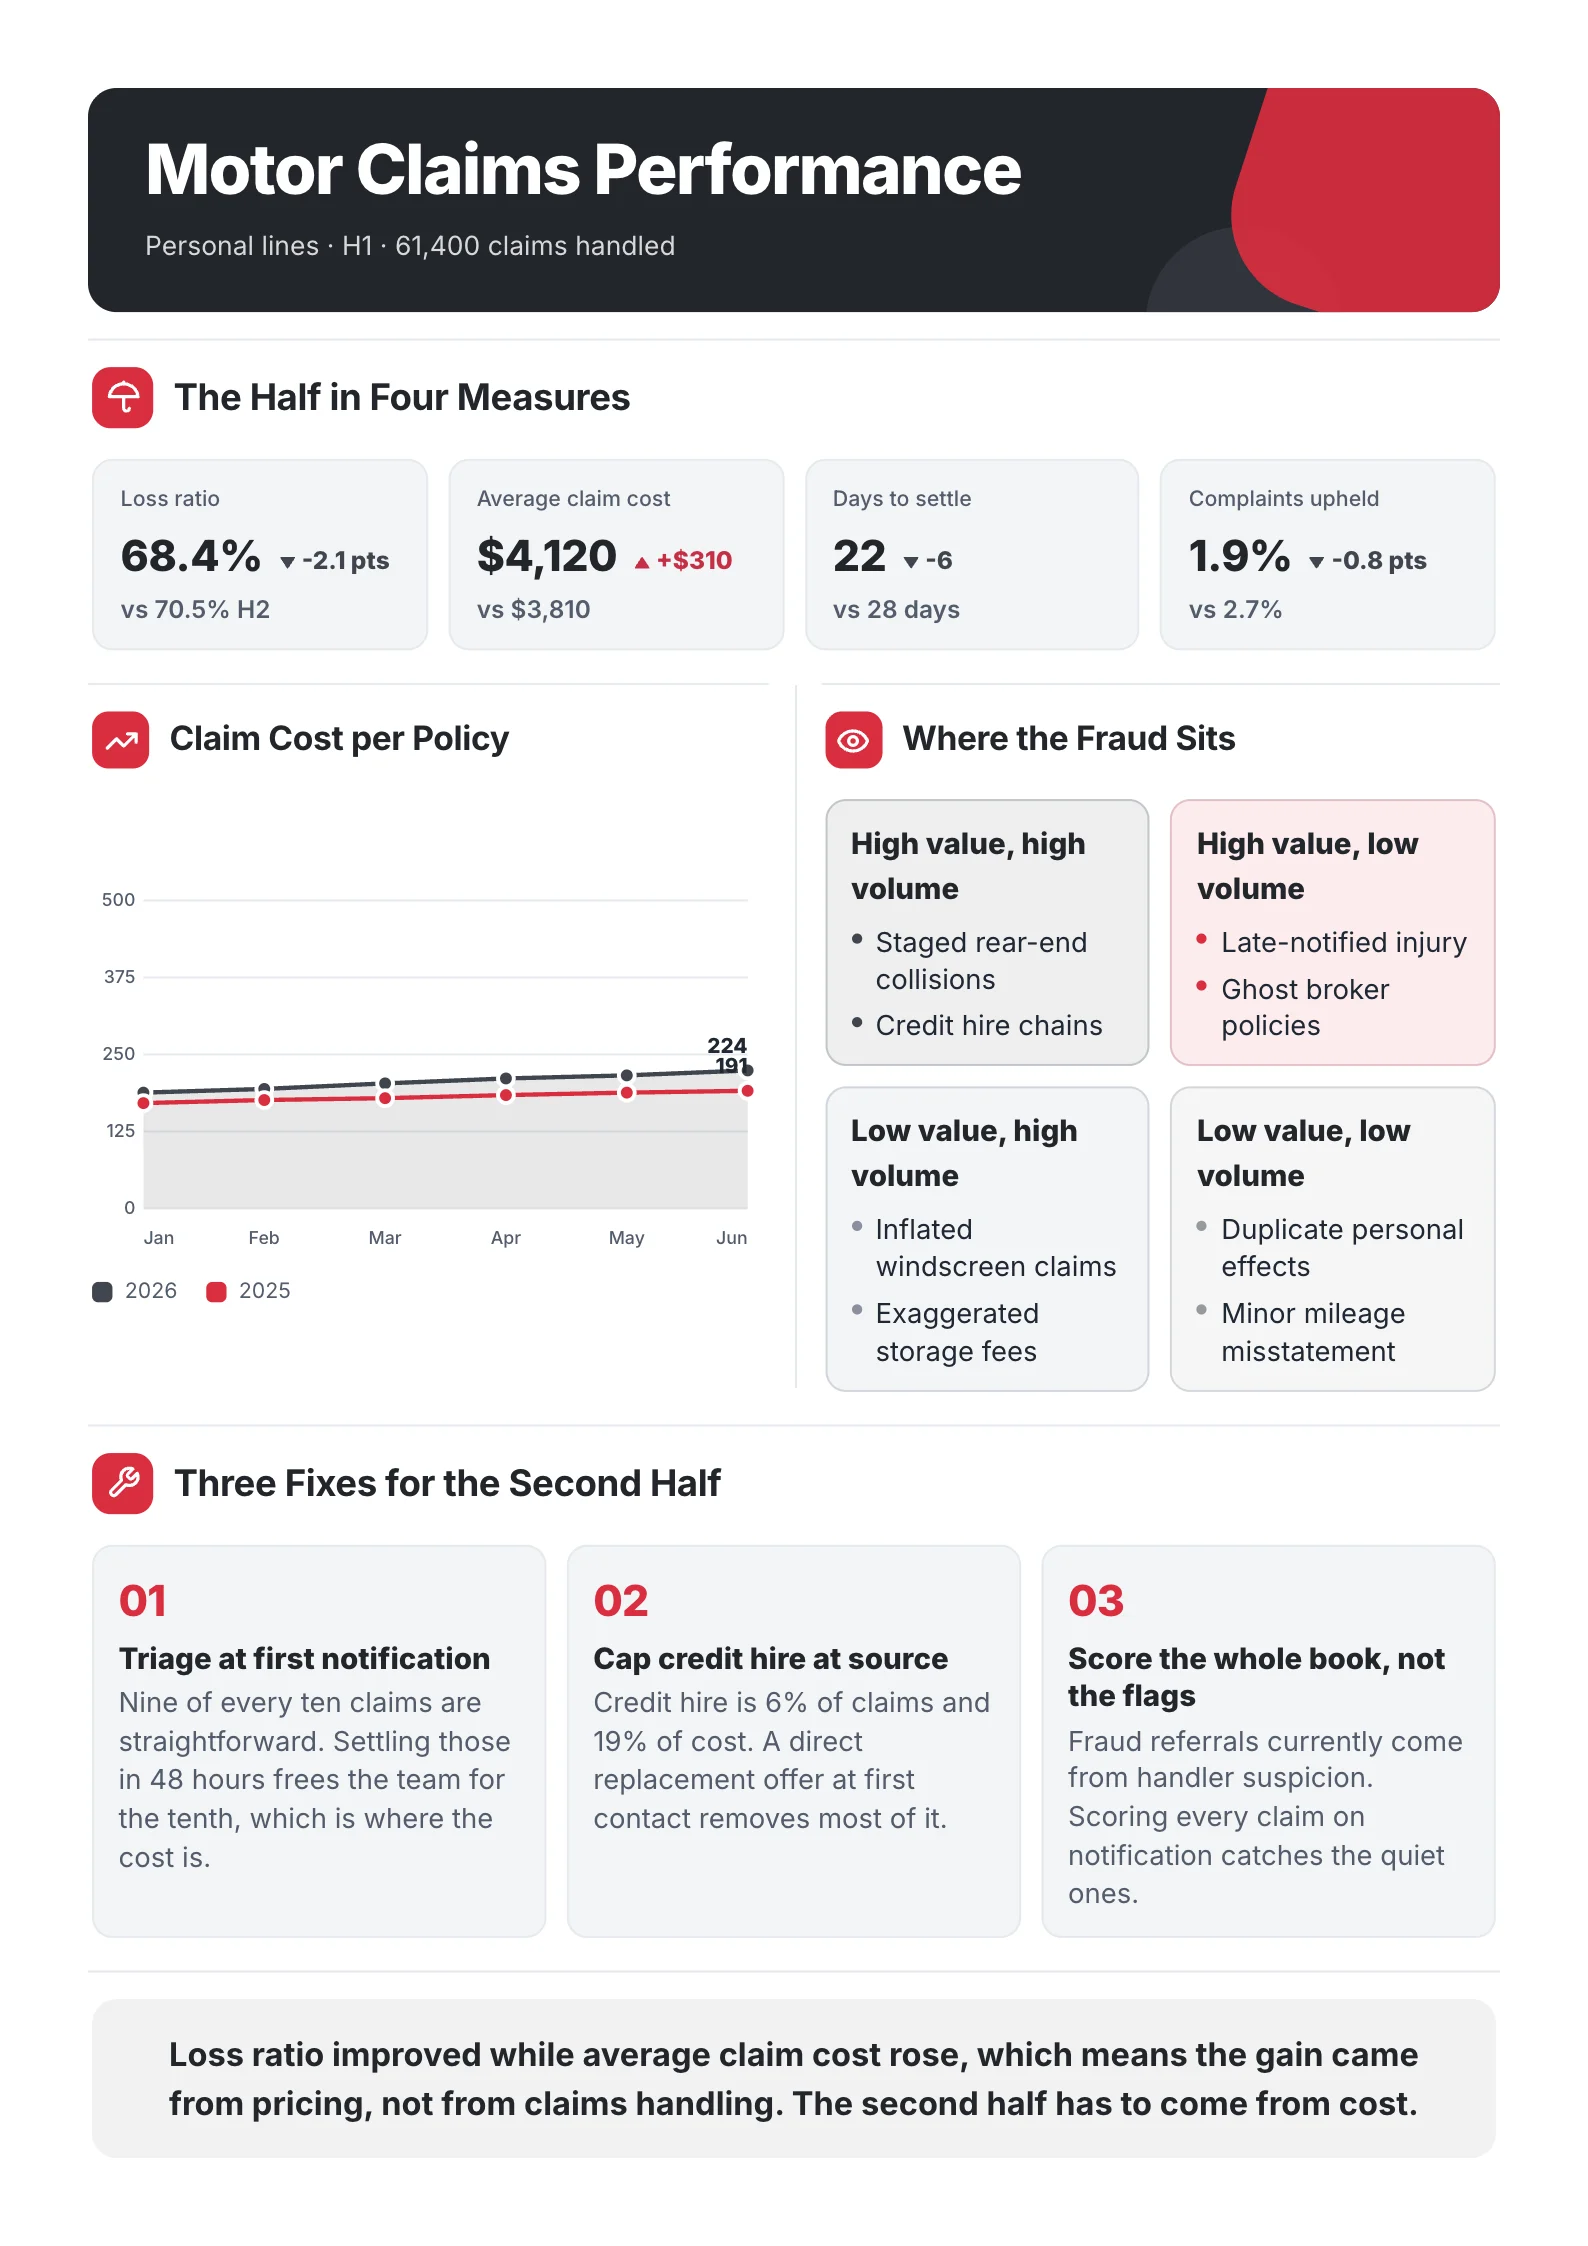
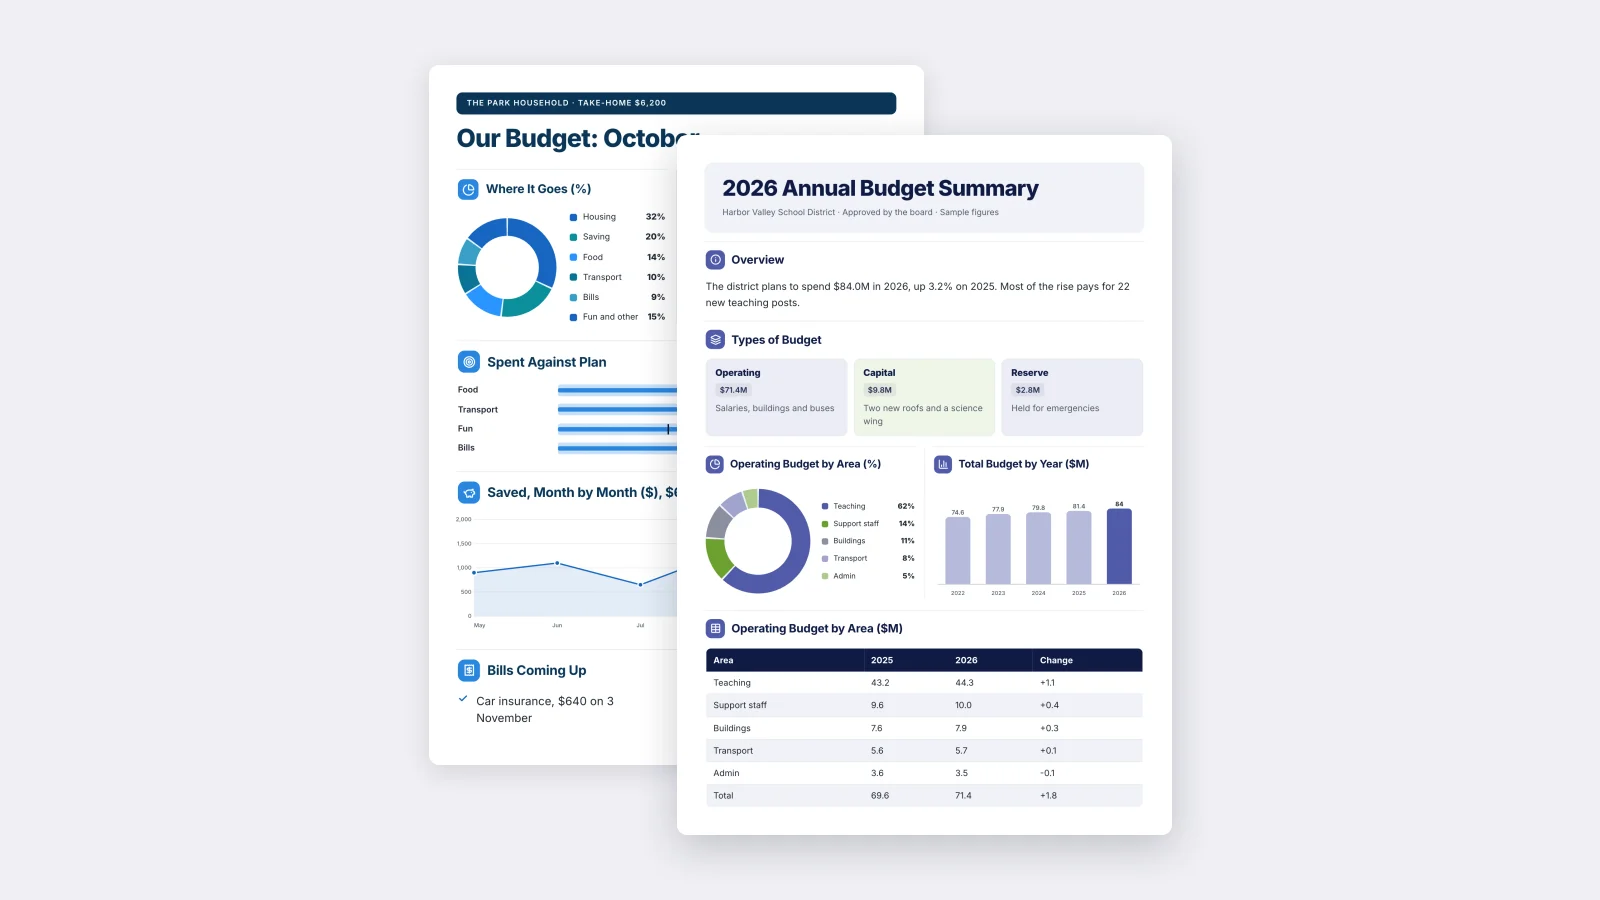
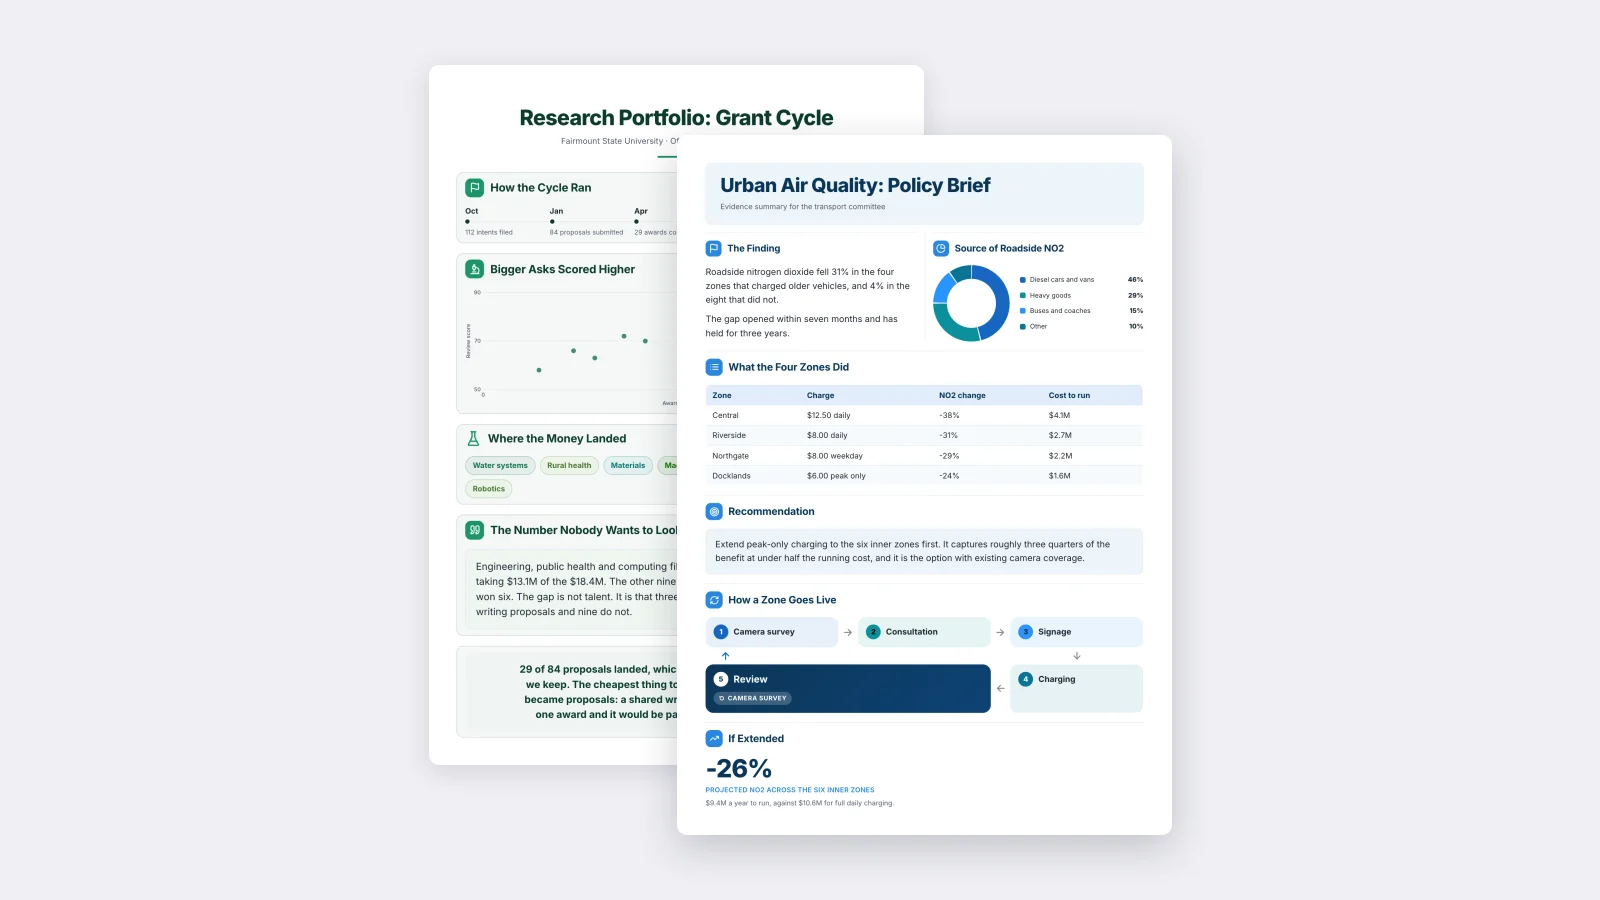
Real One-Pagers made with MakeOnepagers. Open any one to edit it as your own.
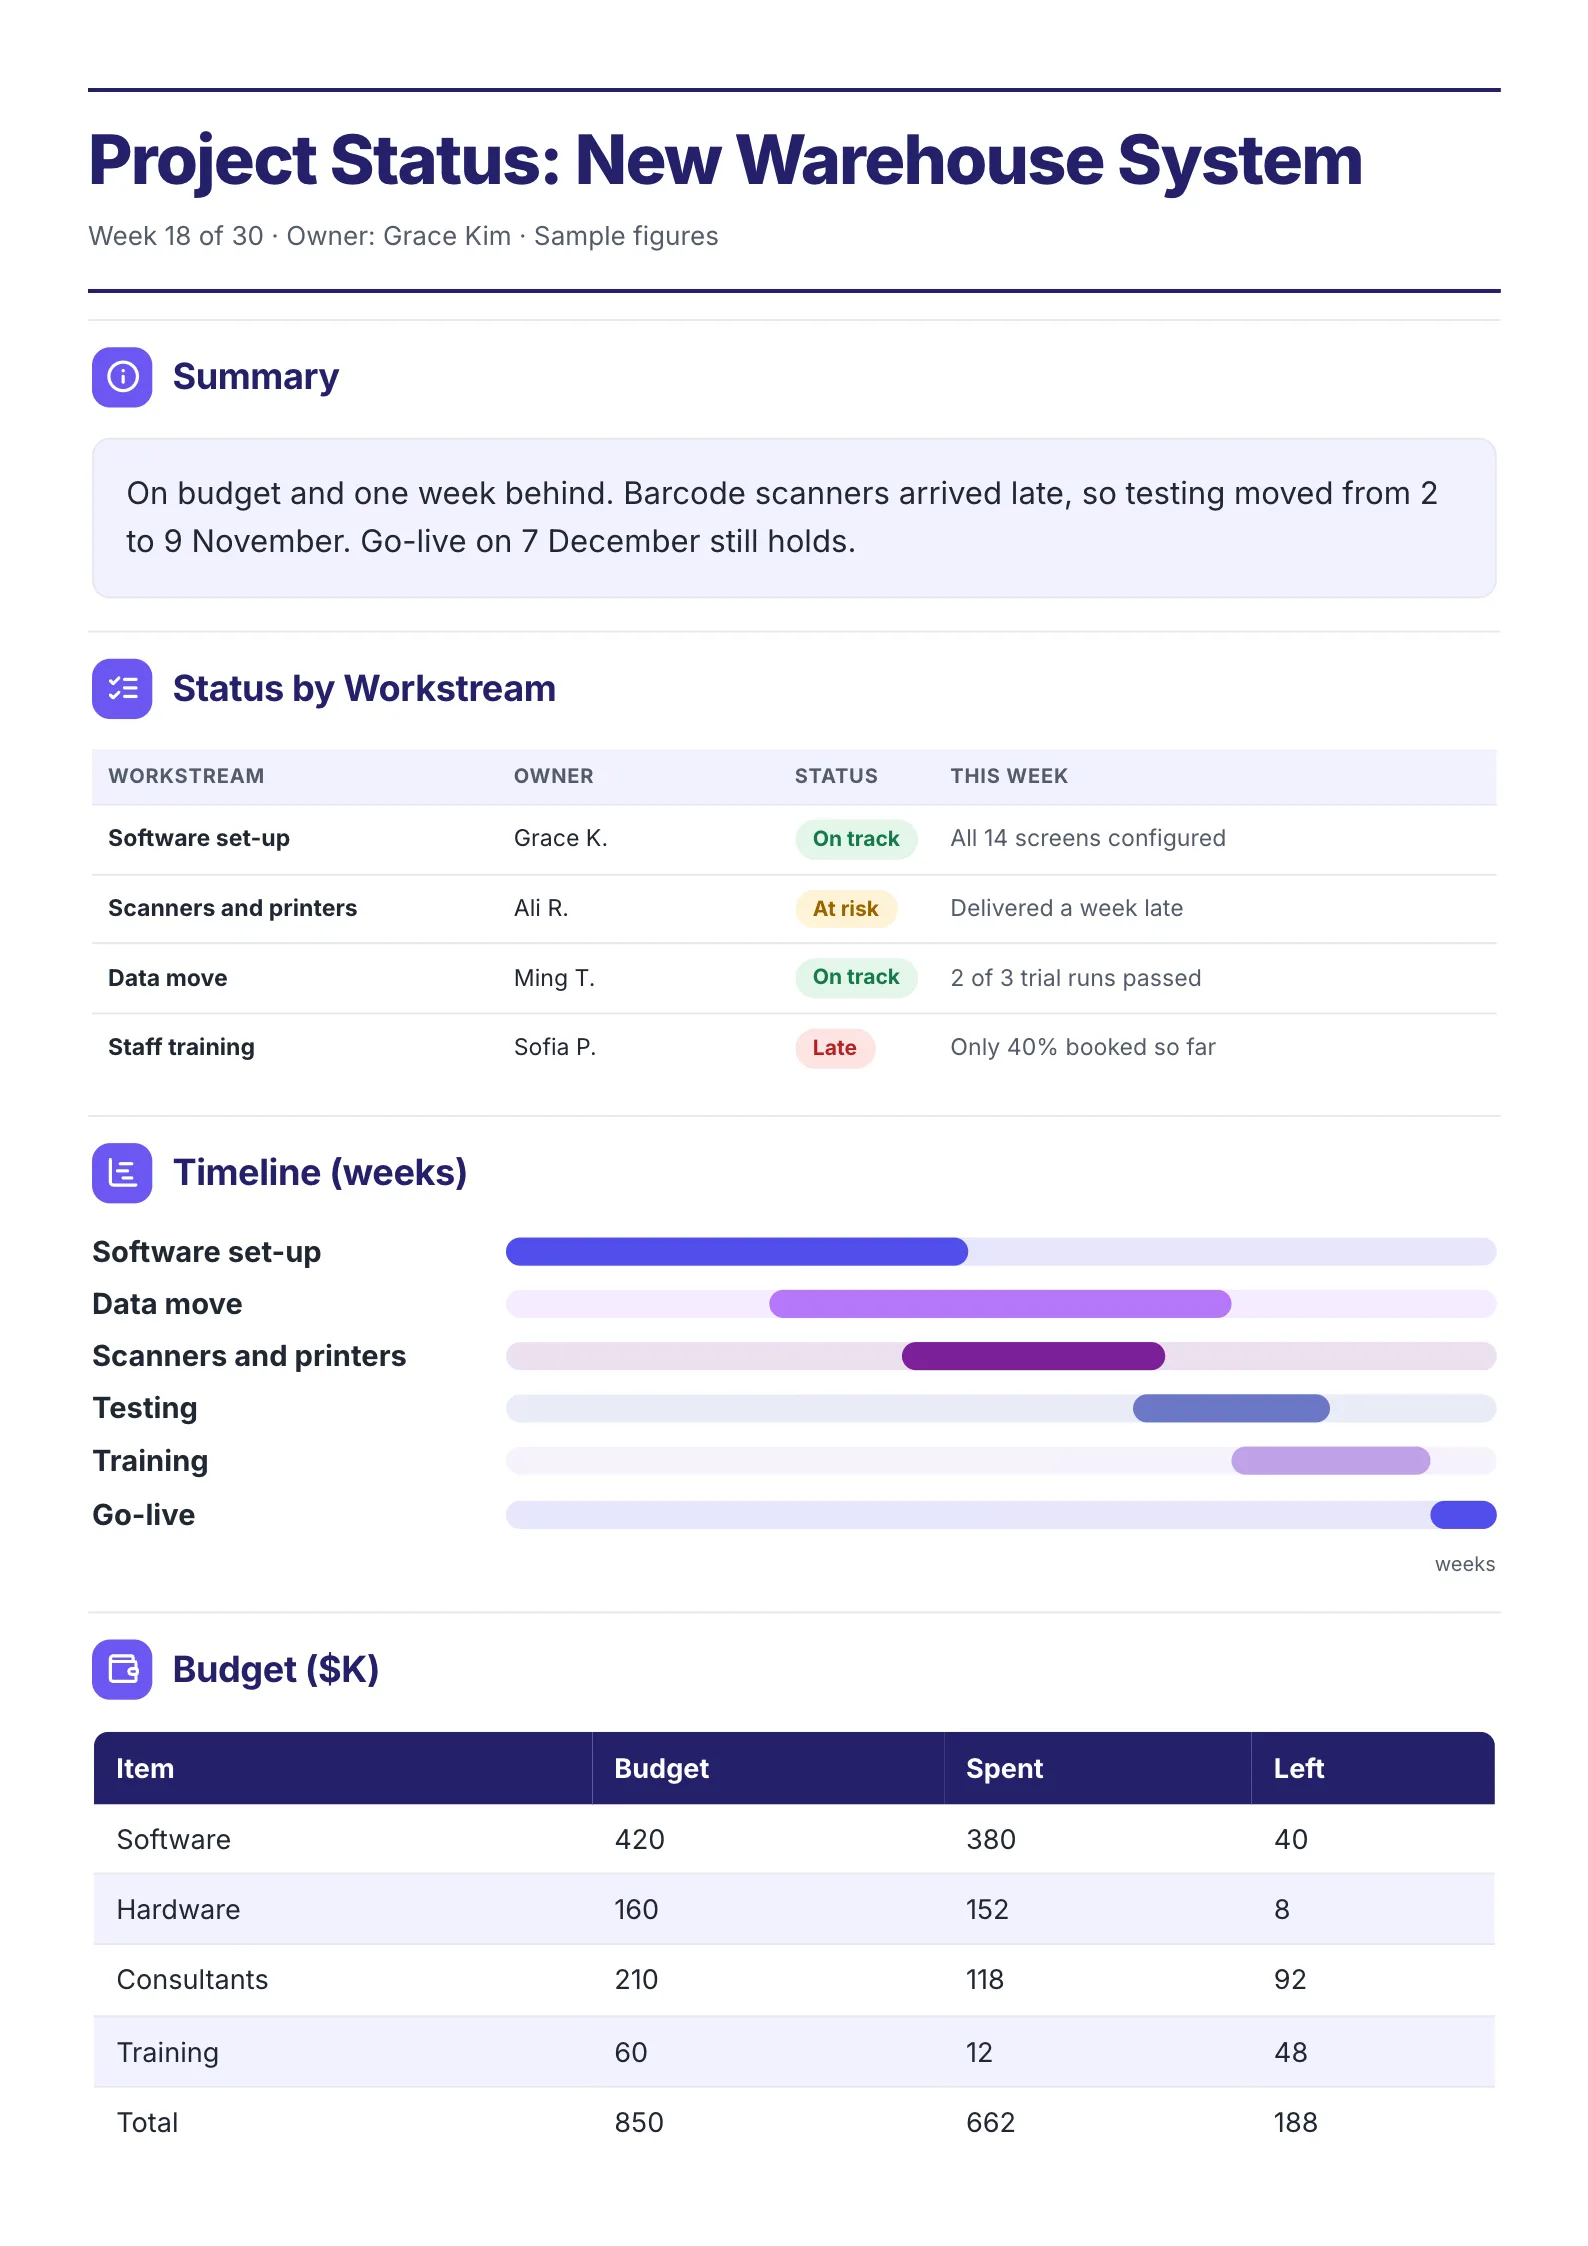 Project Status SummaryEdit for free(opens in a new tab)
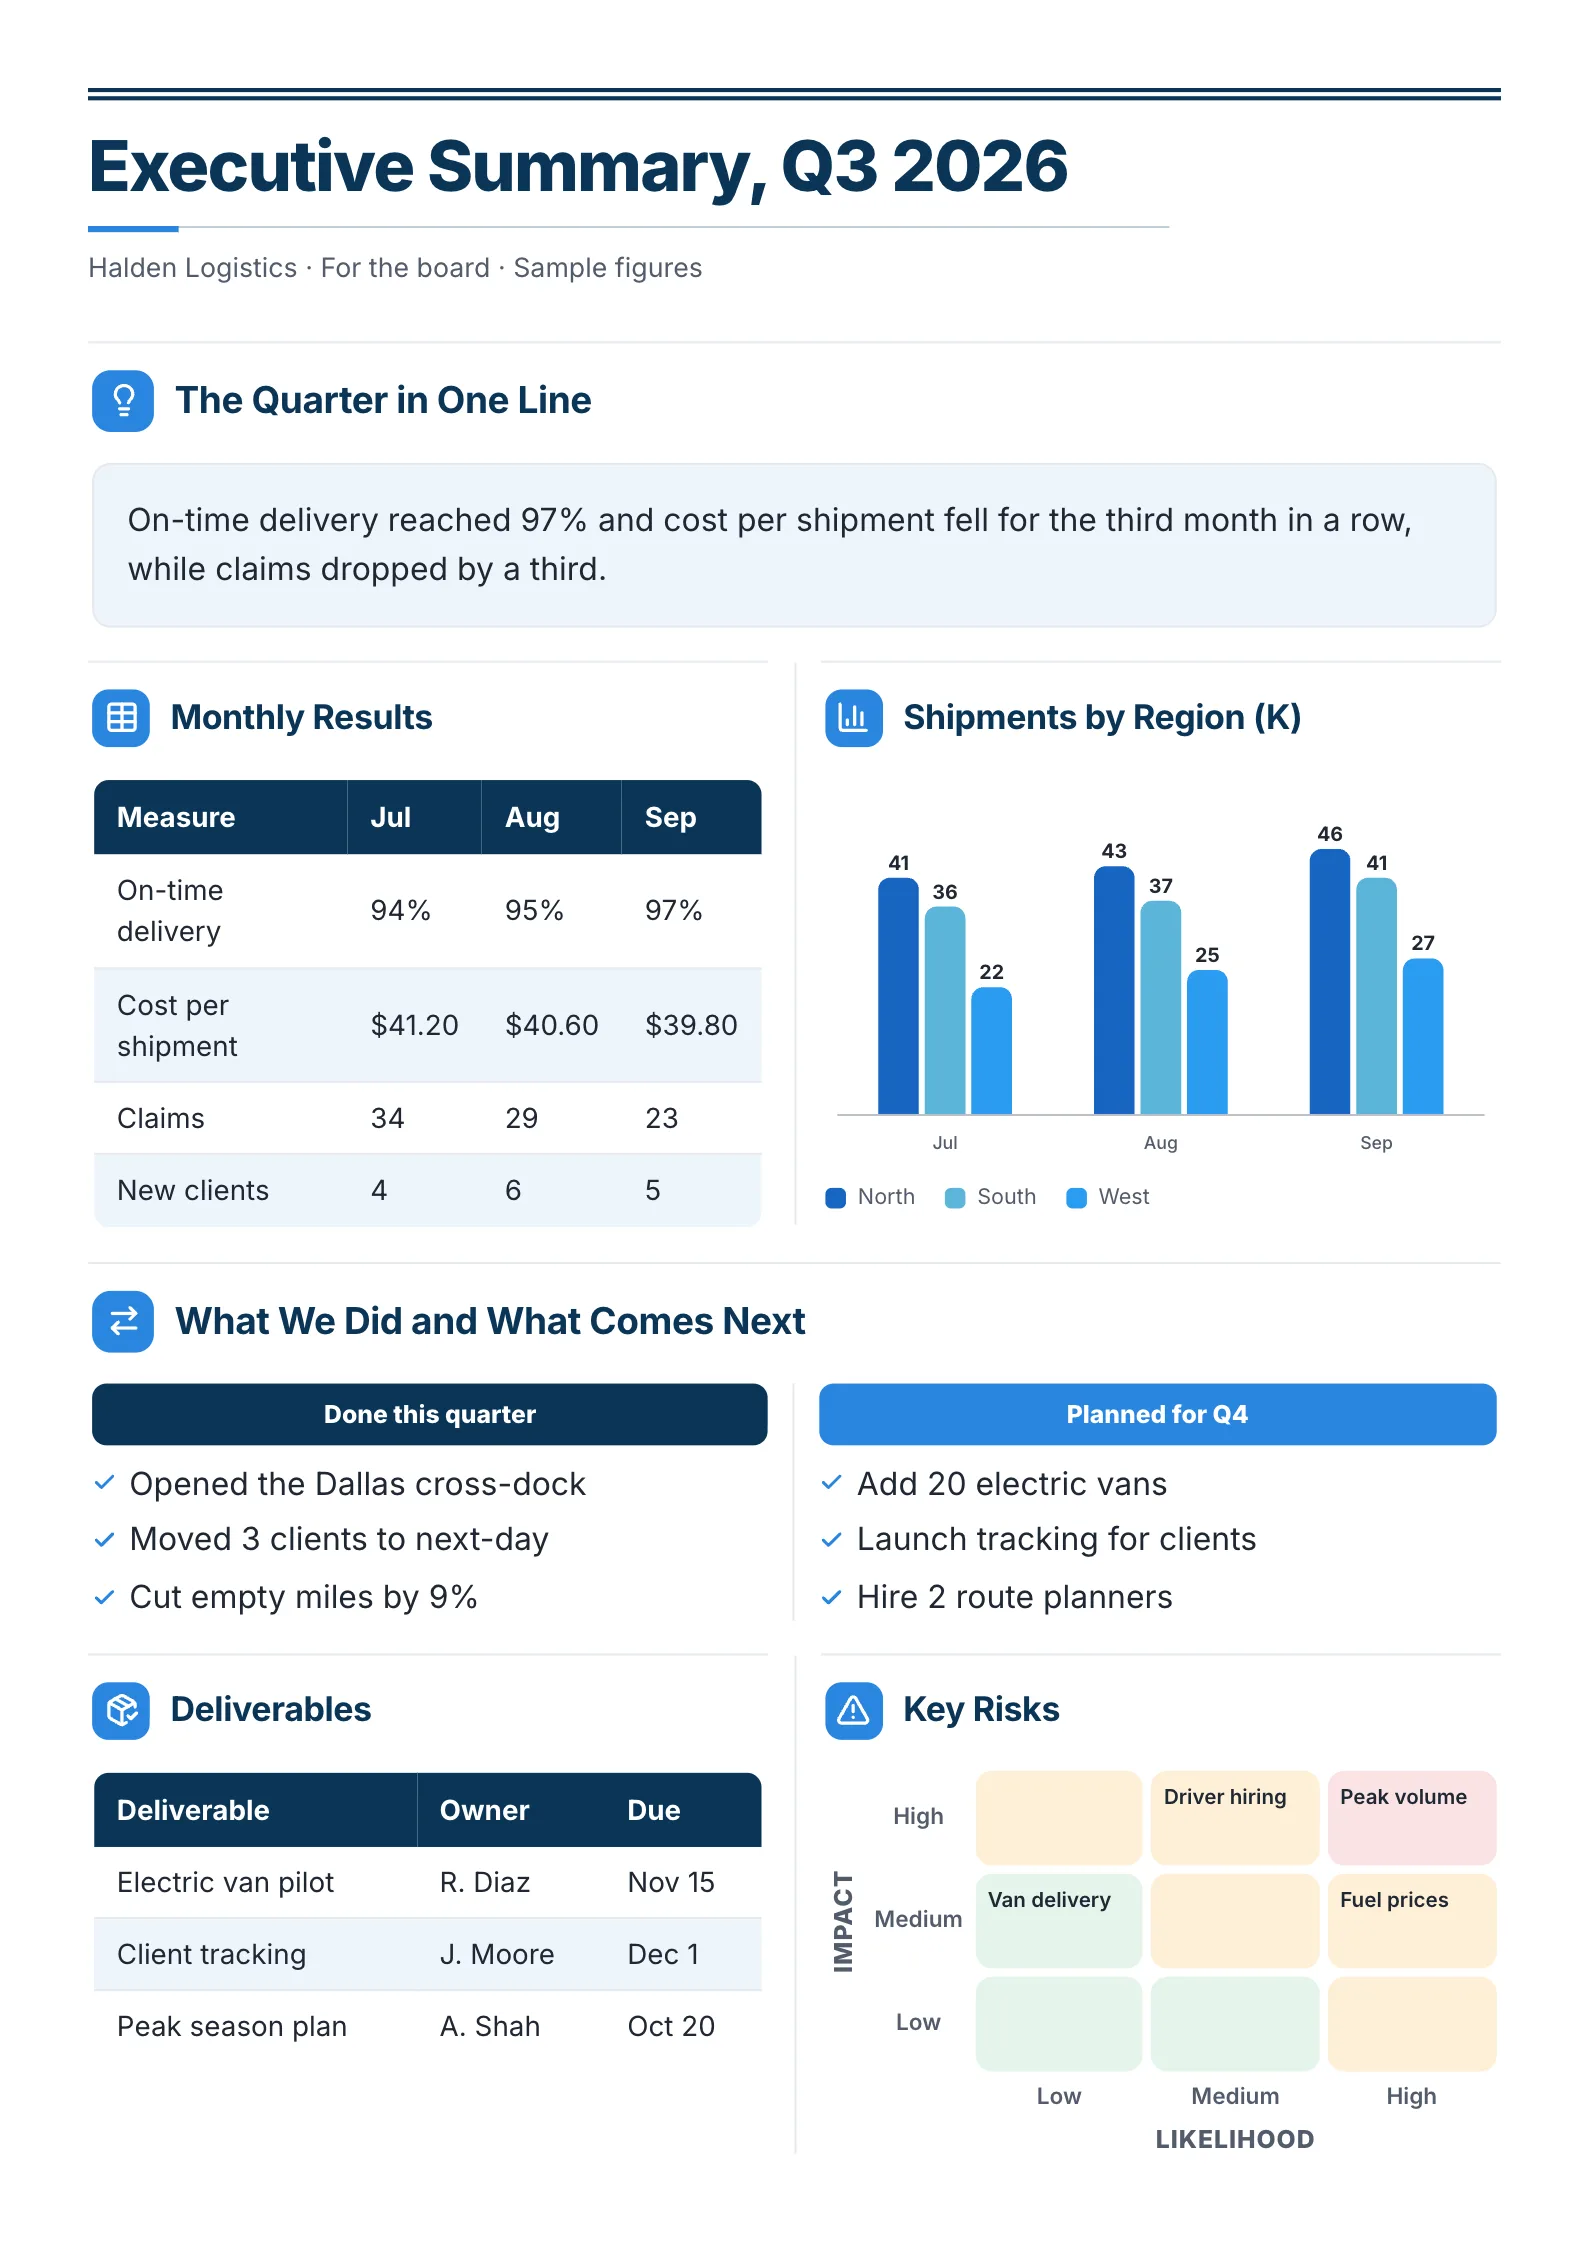 Business Executive SummaryEdit for free(opens in a new tab)
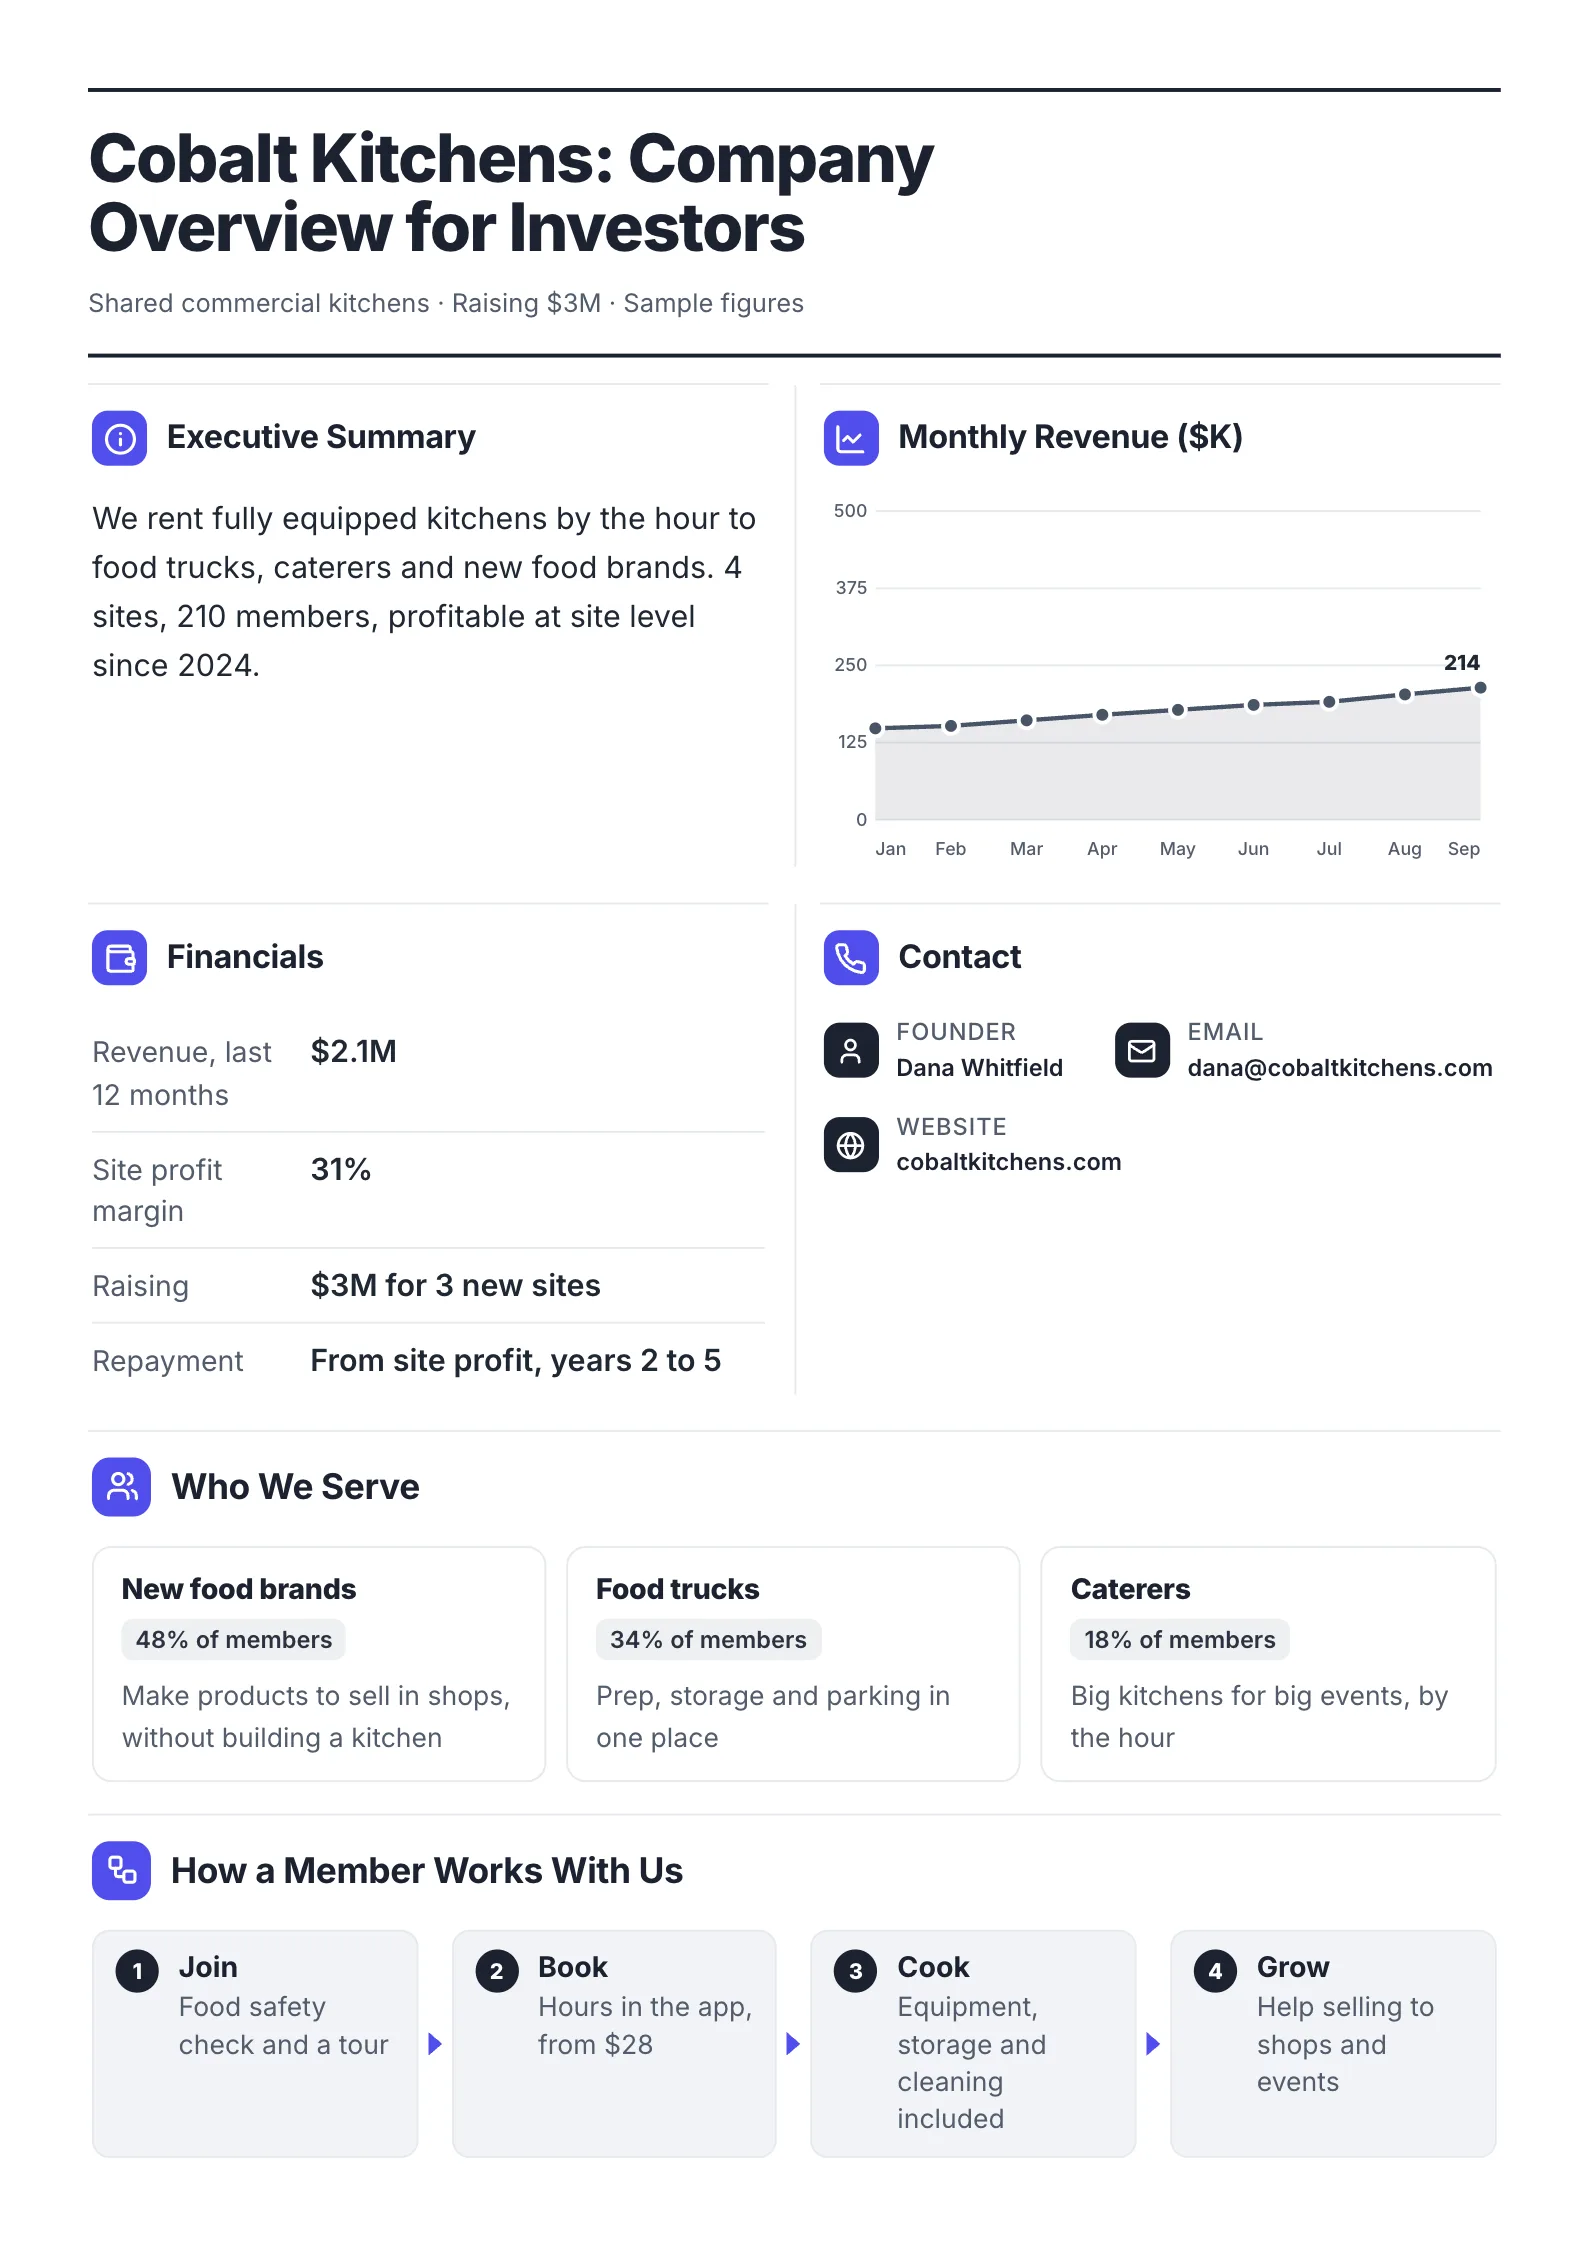 Company Overview for InvestorsEdit for free(opens in a new tab)
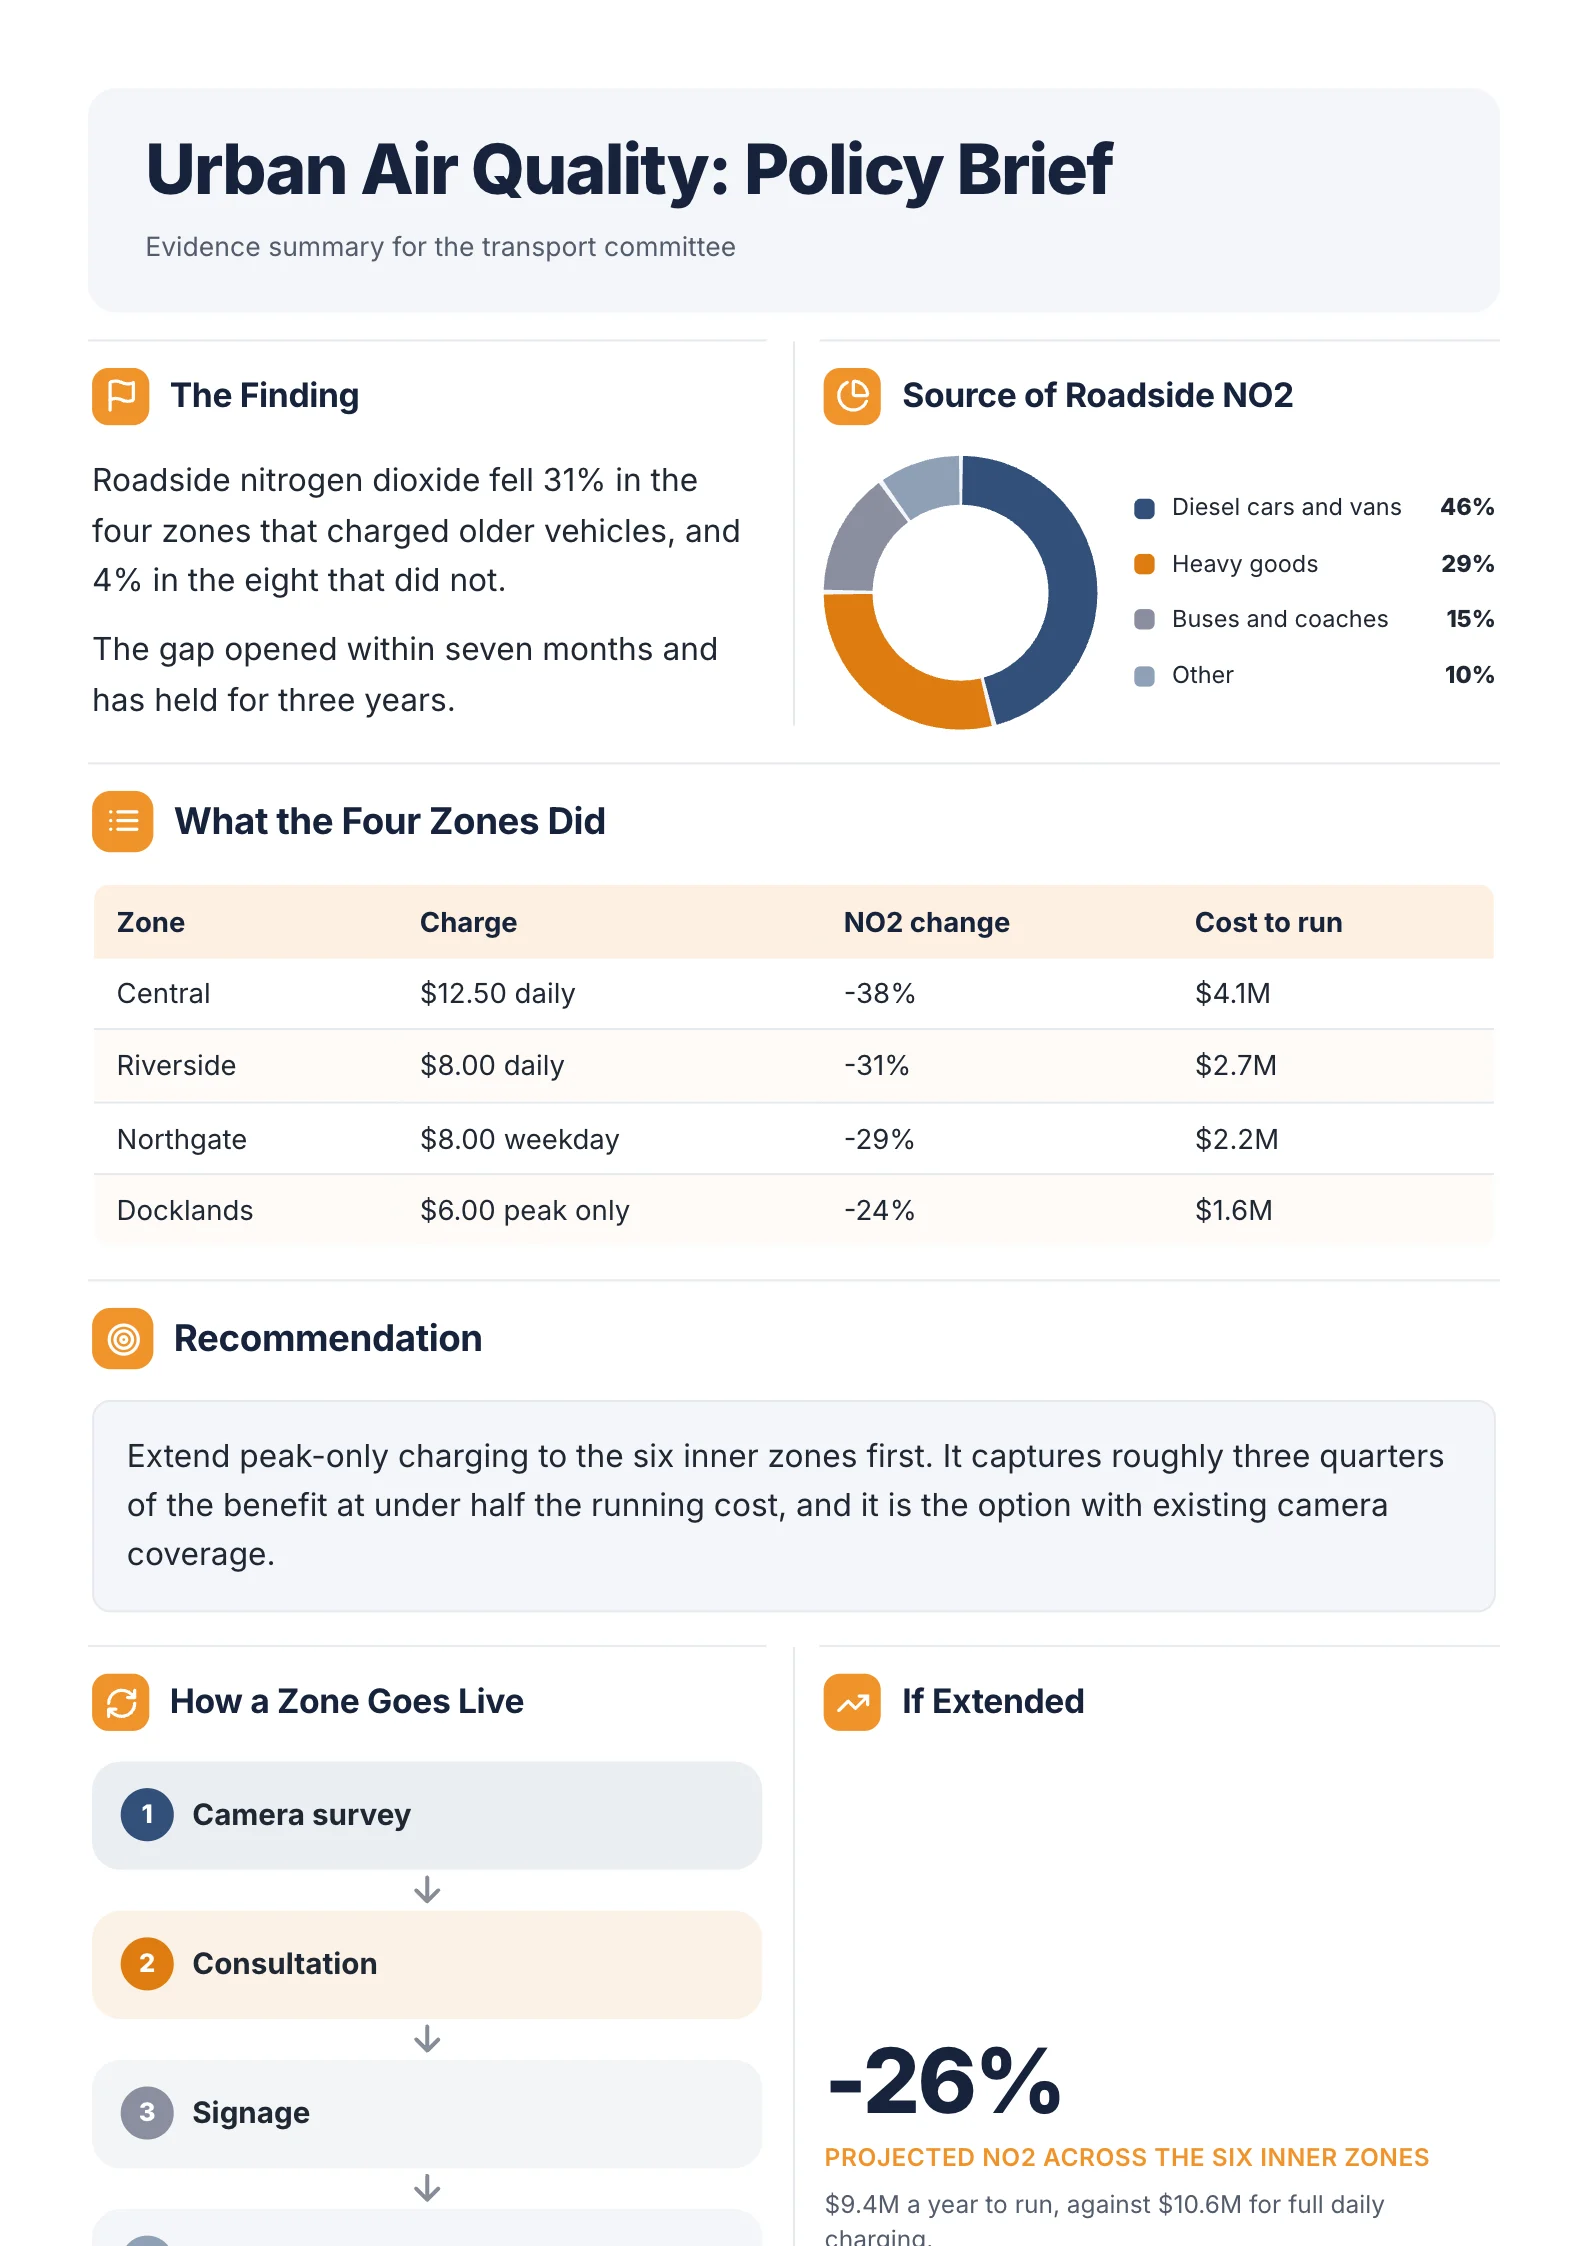 Policy BriefEdit for free(opens in a new tab)
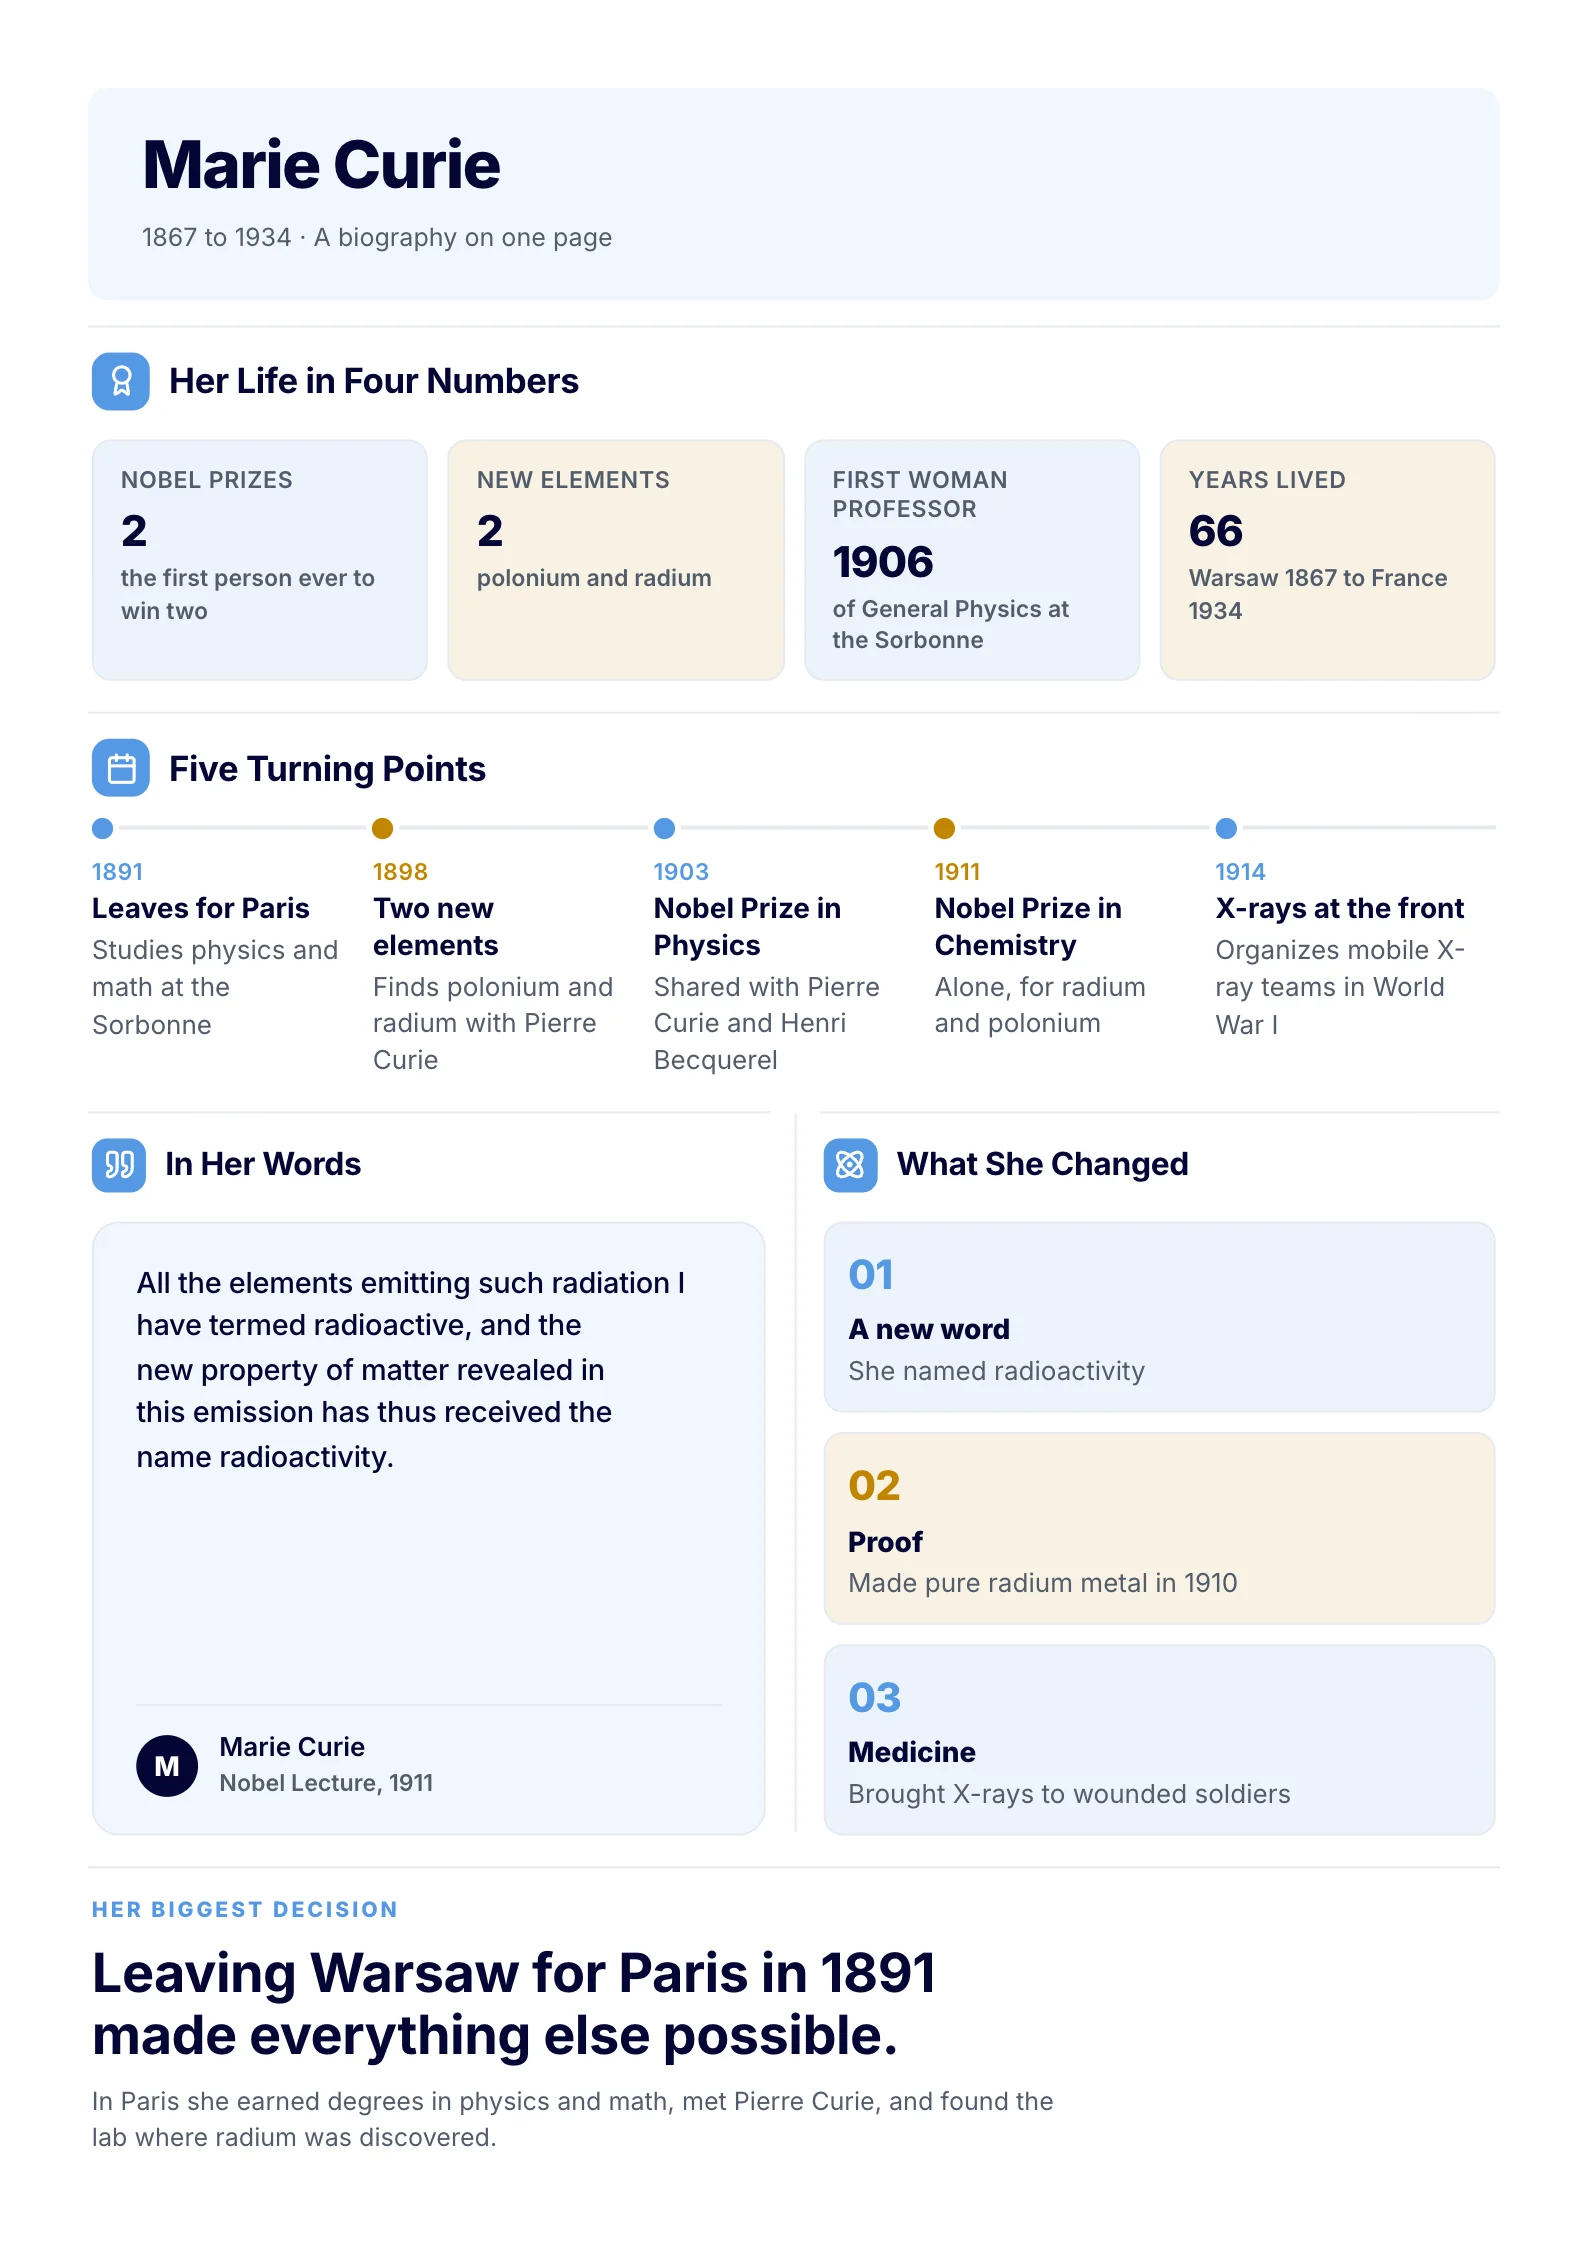 BiographyEdit for free(opens in a new tab)
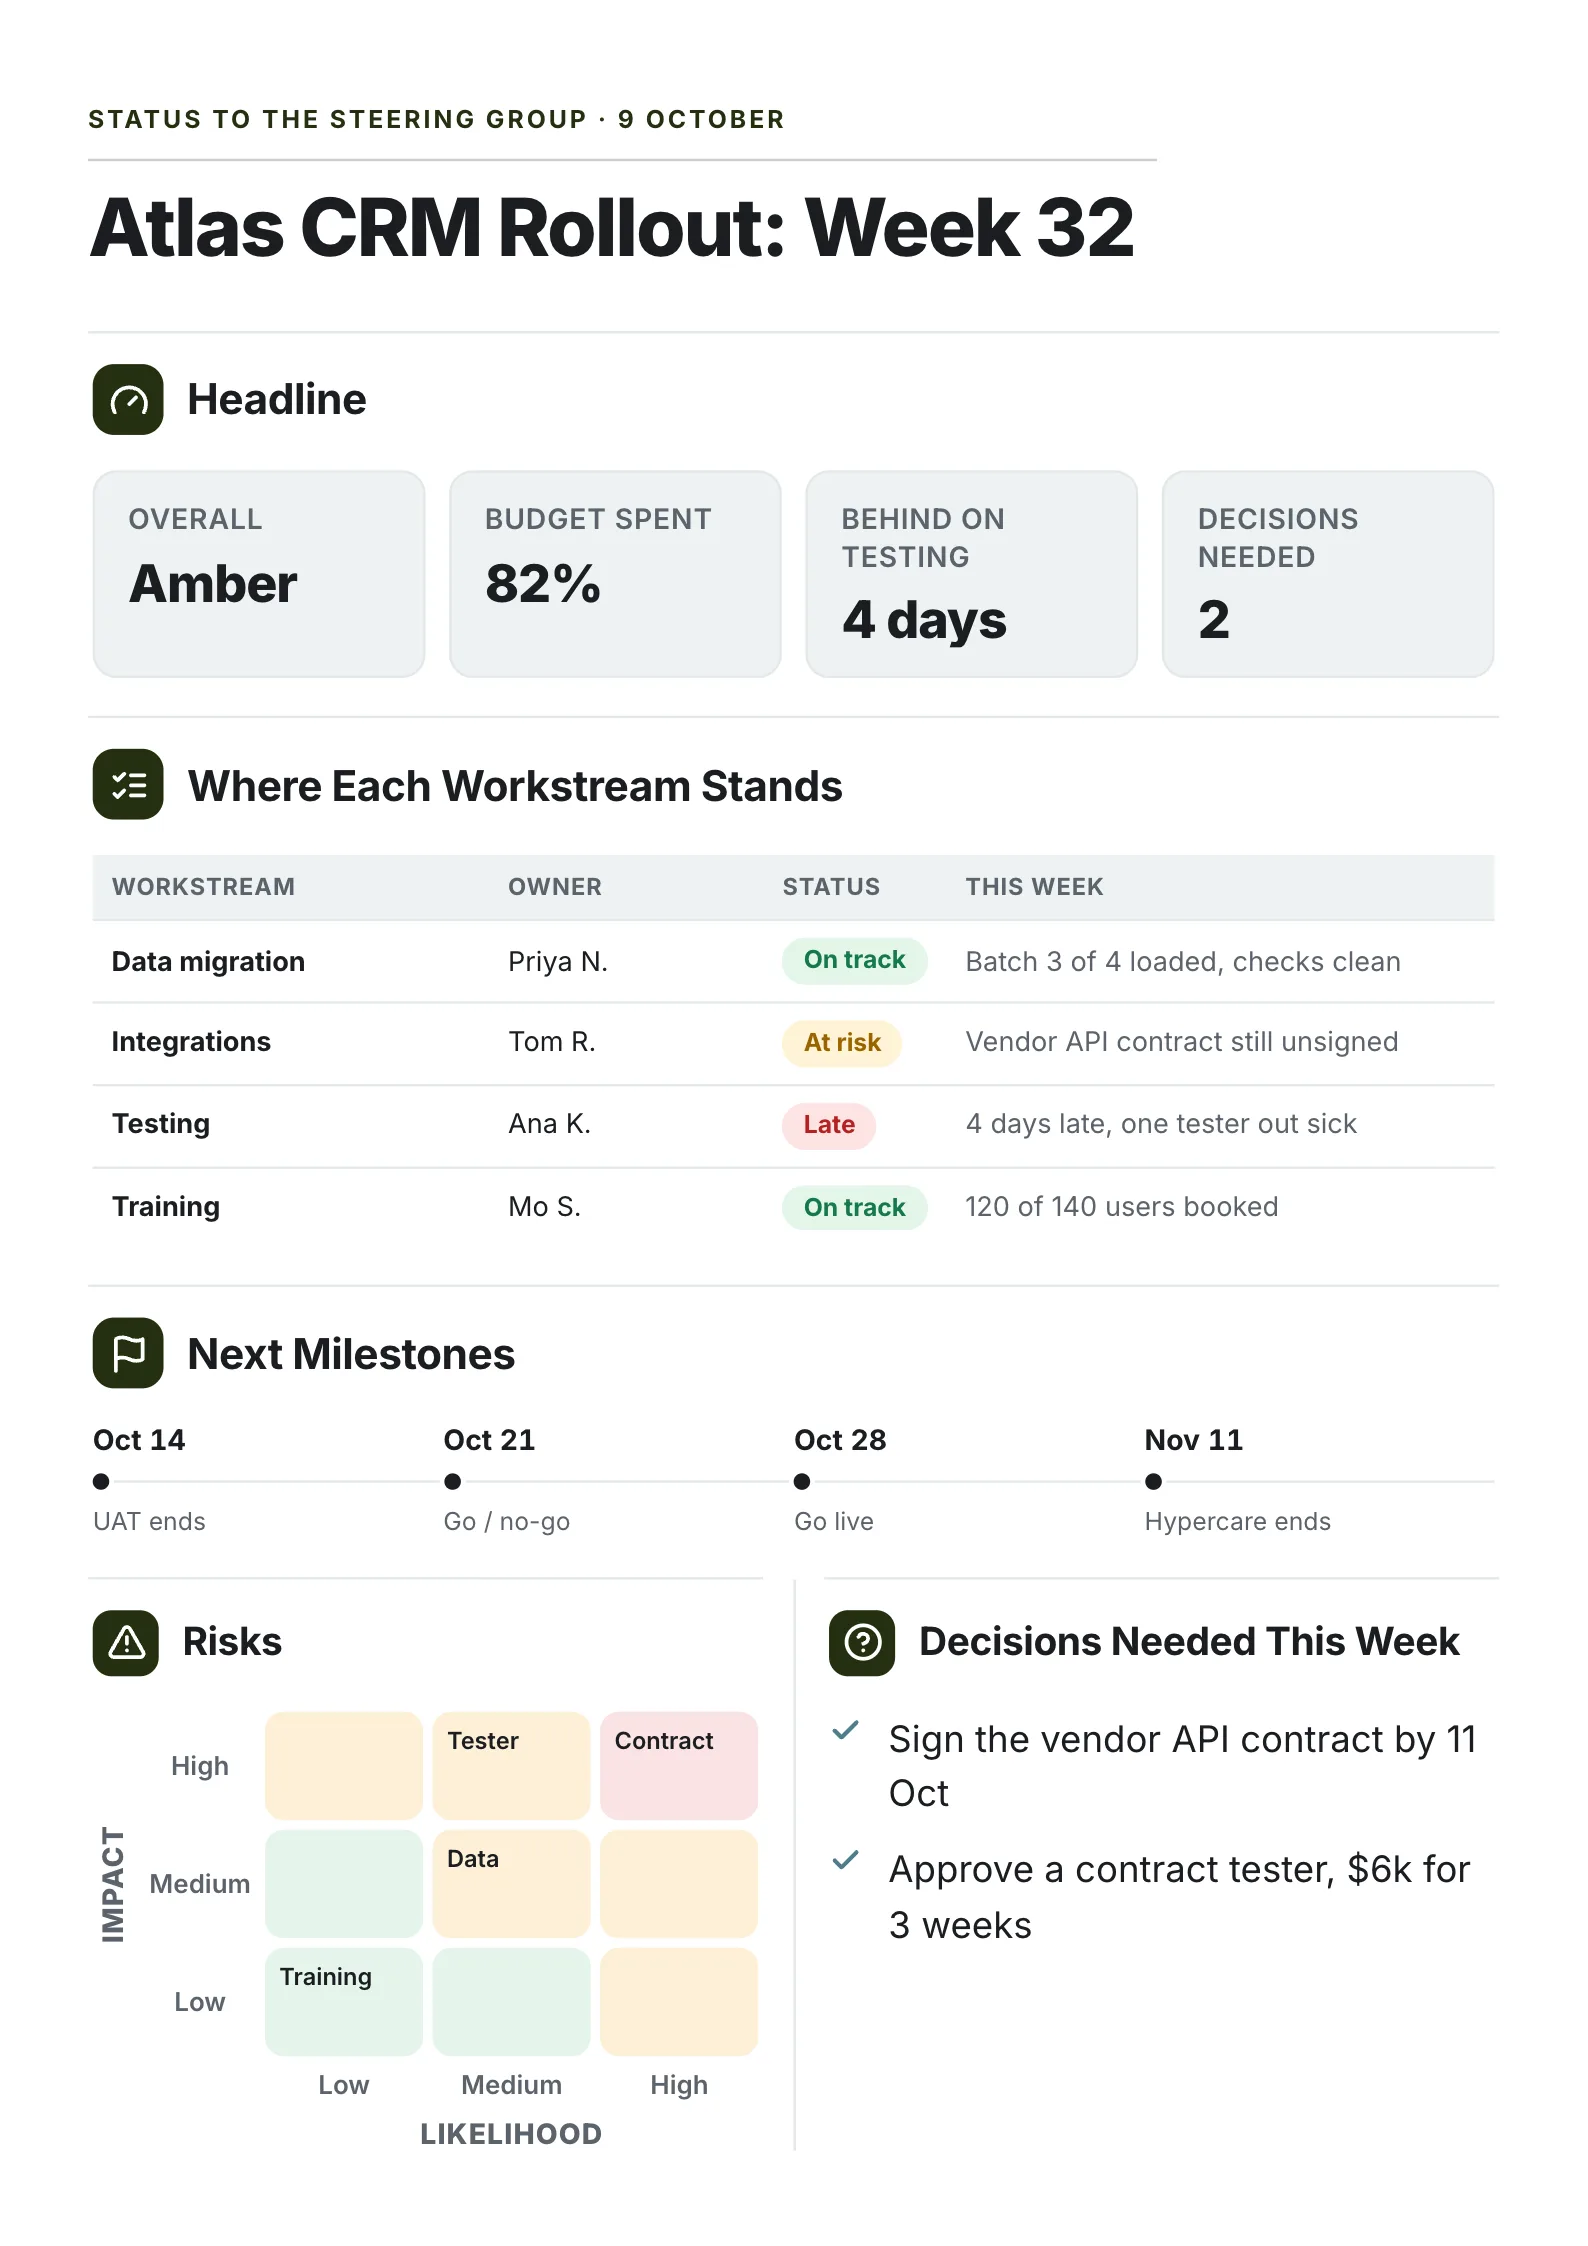 Project Status ReportEdit for free(opens in a new tab)
What a one pager in Word needs
| Part | What it does | Length |
|---|---|---|
| Title | Says what this is | One line |
| Summary | The single point you want remembered | One or two sentences |
| Key numbers | Three or four facts, each with a label | One line each |
| Context | The problem, background or goal | Three or four lines |
| Details | The plan, the steps, the budget or the timeline | A short table or list |
| Next step | What you want the reader to do | One line |
| Contact | A named person and how to reach them | One line |
Everything else is decoration. If a section does not help the reader act, it goes.
Step 1: set the margins
Microsoft's help says every page in Word automatically has a one-inch margin. To change it: Layout, then Margins, then choose a preset or Custom Margins.
- Keep one inch if the one pager will be printed on an office printer and you have room.
- Go narrower only if you need the space, and print a test page to check your printer does not cut the edges.
- Orientation: portrait for most one pagers. Change it in Layout, then Orientation.
Step 2: set the paper size
Layout, then Size. Use Letter for readers in the US and A4 for most other countries. A one pager sized for the wrong paper either leaves a gap at the bottom or spills onto a second sheet when someone else prints it.
Step 3: build the layout with a table
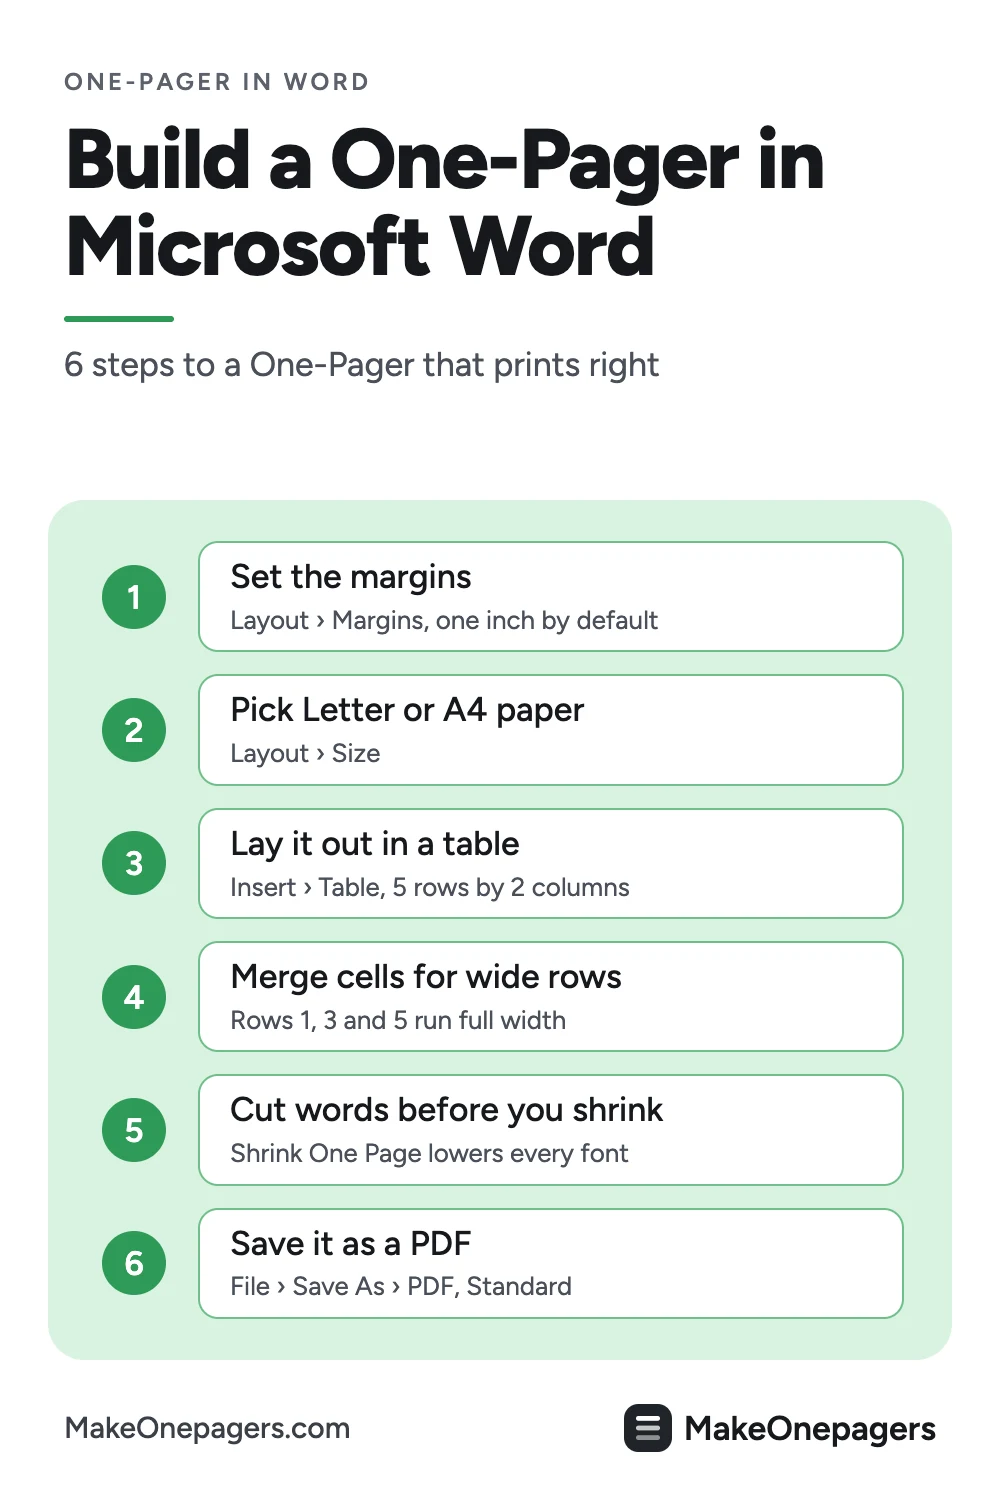
Side-by-side sections are the hardest part of a one pager in Word, and a table is the most predictable way to hold them. Microsoft's help: Insert, then Table, then drag across the grid to choose rows and columns. For a larger or custom table, Insert, then Table, then Insert Table.
A layout that fits most one pagers:
| Row | Cells | What goes in it |
|---|---|---|
| 1 | 1 | Title and one-line summary |
| 2 | 2 | Key numbers on the left, context on the right |
| 3 | 1 | The details: a short table, steps or a timeline |
| 4 | 2 | Next step on the left, risks or asks on the right |
| 5 | 1 | Contact strip |
Insert a 5 by 2 table, then merge the two cells in rows 1, 3 and 5: select both cells, then on the table's Layout tab choose Merge Cells. When the content is in, select the whole table and, on the Table Design tab, set Borders to No Border, so the grid disappears and the sections stay in place.
Columns instead of a table: if your content is one long flow of text, Microsoft's help says to select the paragraphs and choose Layout, then Columns. Columns suit a newsletter; a table suits a one pager, because each section stays in its own box.
Step 4: fill in the sections
Write the summary first. If you cannot say the point in two sentences, the rest will not fit on one sheet either.
Then the numbers, each with a short label. Then the context, the details and the next step. Use the same font throughout, one size for headings and one for body text, so the sheet reads as one document.
Step 5: add one visual
One chart, one diagram or one photo, placed inside a table cell so it does not push the text around. A visual that explains a number does more than a logo or a decorative image. Insert it with Insert, then Pictures or Insert, then Chart.
Step 6: make it fit on one sheet
If it runs onto a second page, cut before you shrink:
- Remove a sentence from every section.
- Turn a paragraph into a short list or a small table.
- Delete the weakest section entirely.
- Only then reduce spacing or margins.
Why Shrink One Page is a last resort
Word has a Shrink One Page command. Microsoft's help says it is hidden by default, so you add it to the Quick Access Toolbar through More Commands and All Commands. It works by lowering the size of each font used in the document. Microsoft's help also says you can undo it with Ctrl+Z, but once you save and close, there is no quick way to get the original font sizes back, and it recommends saving a copy first.
On a one pager, that means smaller type for every reader, set by Word rather than by you. Cutting a sentence keeps the type readable.
Step 7: save it as a PDF
File, then Save As or Save a copy, then choose PDF in the Save as type list. Microsoft's help lists two options: Standard for printing and Minimum size for online publishing. Pick Standard if anyone will print it.
A PDF looks the same on most computers. But Microsoft's help notes that Word itself can open and edit PDF files, so sending a PDF does not stop the reader from changing it.
What a finished one pager looks like
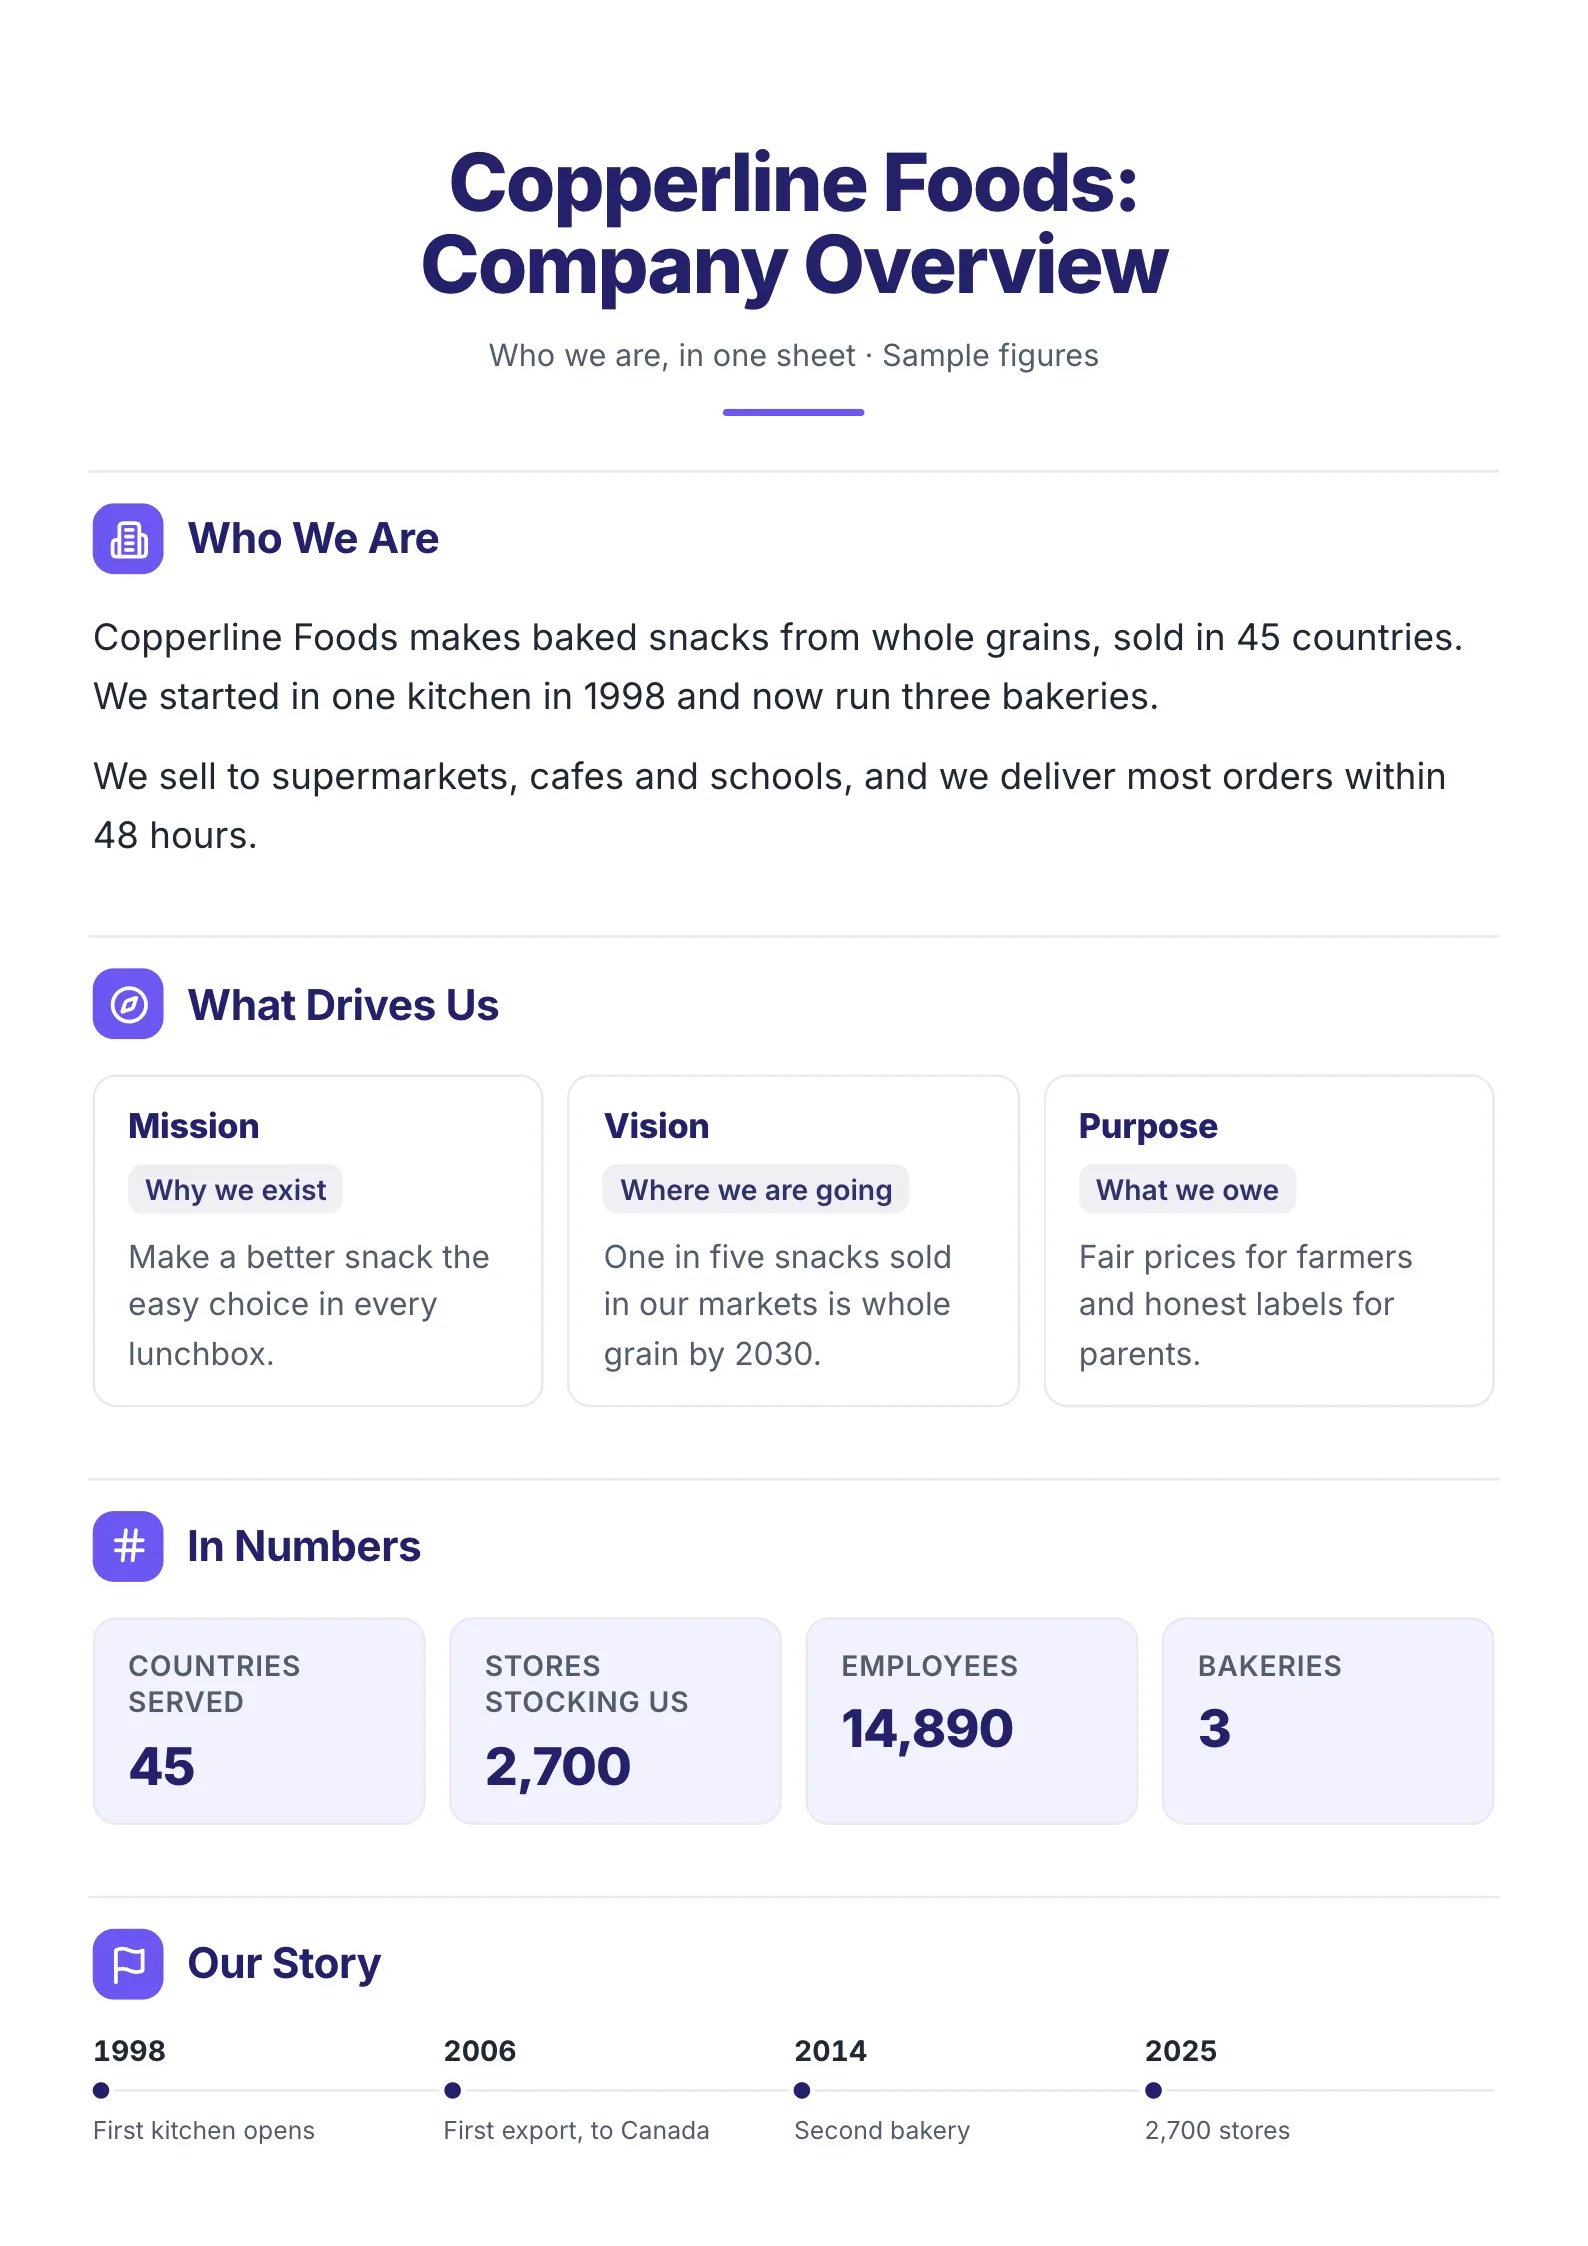
Here are the same parts as a finished One-Pager from our library:
 Edit this template
A sample company overview: a two-sentence summary, three boxes in one row, four numbers and a timeline. In Word, each row is a row of your table.
What to copy into your Word table:
- A two-sentence summary in the first full-width row.
- Three short boxes in one row, each with a heading and one line.
- Four numbers with labels, in a row of their own.
- A timeline across the bottom, four dates and four short lines.
Open it: company overview template. If building the table takes longer than writing the content, drop your notes into the free AI One-Pager generator for a finished layout, then check every line.
Word one pager mistakes
| Mistake | Fix |
|---|---|
| Layout built with spaces and tabs | A table with no borders |
| Text boxes floating over each other | Table cells, which stay in place |
| Shrink One Page to make it fit | Cut a sentence from each section |
| Wrong paper size for the reader | Letter or A4, set in Layout, then Size |
| Three fonts and five sizes | One font, one heading size, one body size |
| Sent as a .docx | Save as PDF, Standard quality |
Make your one pager in Word
Set your margins and paper size, insert a 5 by 2 table and merge rows 1, 3 and 5, fill in the sections table above, and save it as a PDF. For a finished layout to copy, open the company overview template.
Frequently asked questions
Does Word have a one pager template?
Word has templates under File, then New, but you can build a one pager from a blank document with the table layout above. What matters is the sections and keeping them on one sheet.
How do I make two columns on part of a Word document?
Select the paragraphs, then Layout, then Columns. For side-by-side sections that should not flow into each other, use a two-cell table row instead.
How do I stop my Word one pager going onto a second page?
Cut content first: a sentence from each section, then the weakest section. Reduce margins or spacing only after that, and save a copy before using Shrink One Page.
What margins should a one pager have in Word?
Word's default is one inch on every side. Narrower margins give more room, but print a test page to check nothing is cut off.
What is the best way to send a one pager made in Word?
As a PDF, from File, then Save As, choosing PDF. Use Standard quality if it will be printed.